| |
|
Click an image to enlarge. |
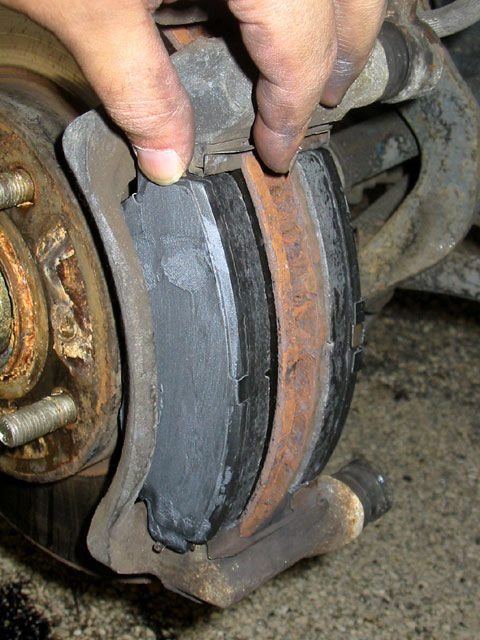
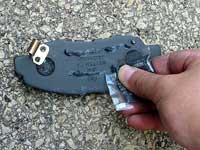
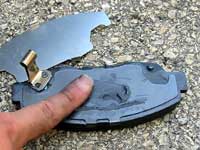
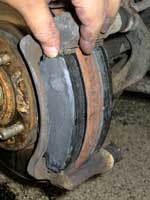
Next you need to start putting the new
pads and shims back together. Make sure you are putting them together
correctly by comparing with the old pads and shims.
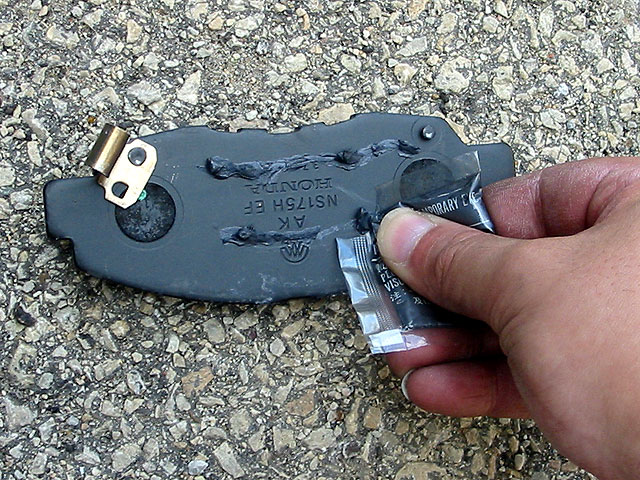
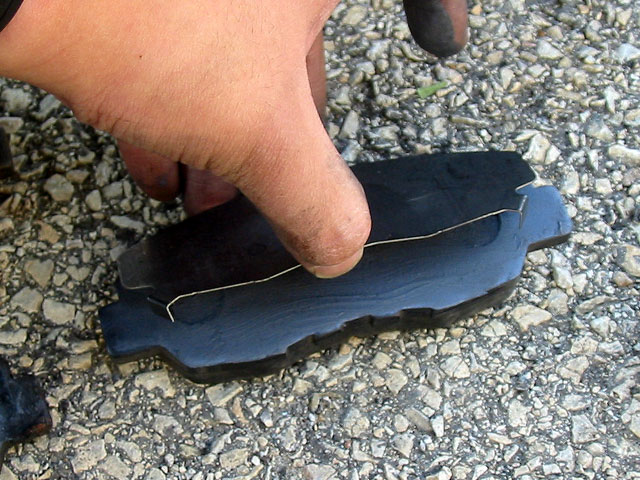
Apply anti-squeal grease to the back of the pads and shims. Here I'm
starting with the inner pad. You can tell the inner pad b/c it has
the wear indicator (metal piece on the left of the image). Make sure
you're using the correct pad since the left and right sides are mirror
images.
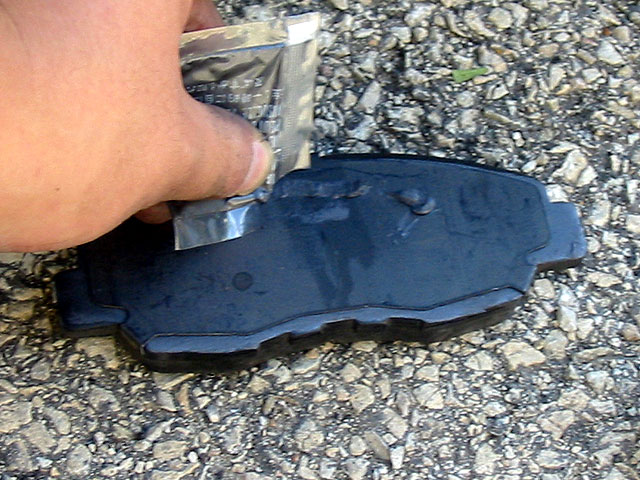
Cut open the corner of the anti-squeal (it looks like it's just graphite
suspended in grease) and put a small amount on the back of the pad. |
|
 |
|
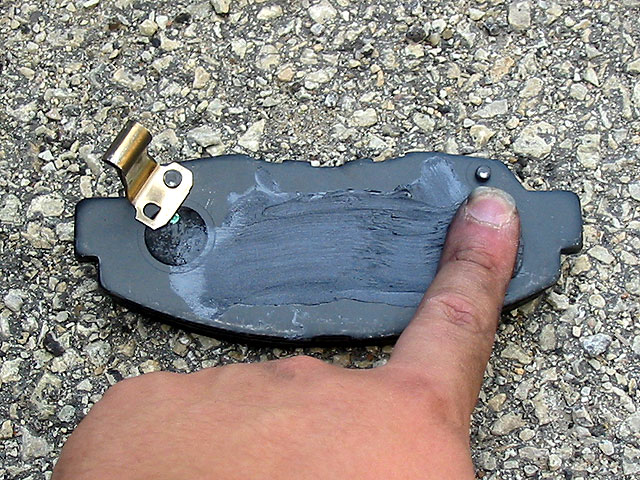
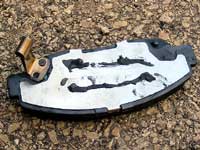
| Spread the grease all over the back of
the pad. Install the first shim. |
|
 |
|
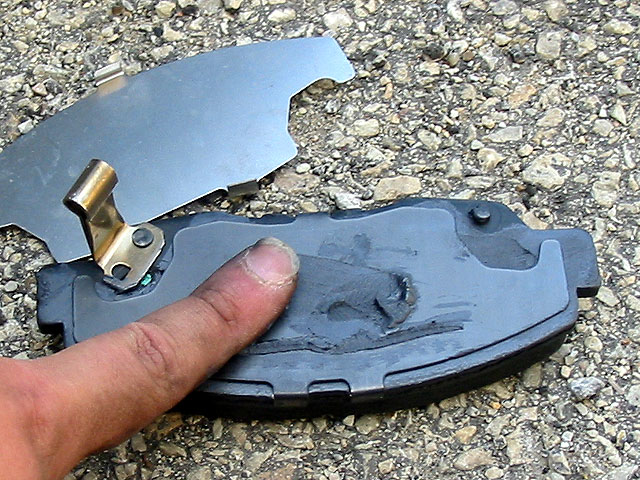
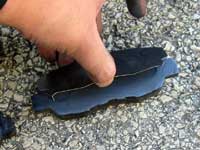
| Now spread grease all over the back of
the first shim and install the second shim. |
|
 |
|
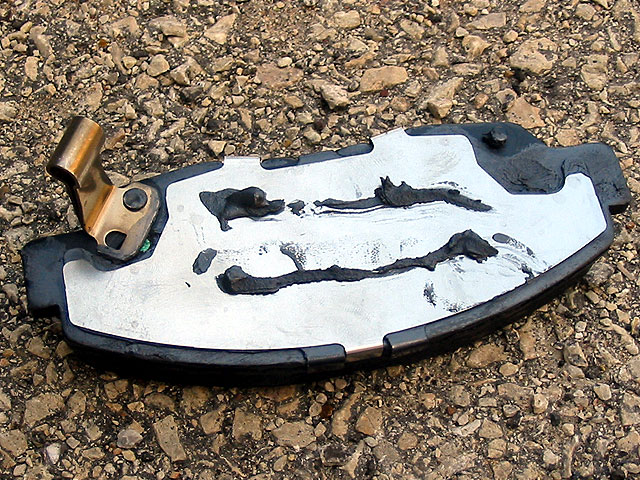
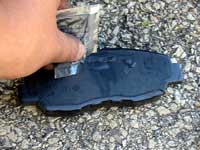
| Now spread grease all over the second
shim. That pad is done. |
|
 |
|
| Now for the outer pad. Same thing. Spread
grease on it and install the shim (there's only one for the outer
pad). |
|
 |
|
| Spread grease an the shim and this pad
is done too. |
|
 |
|
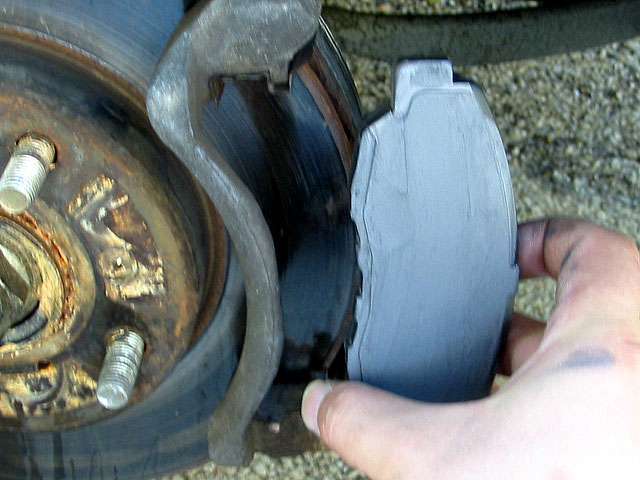
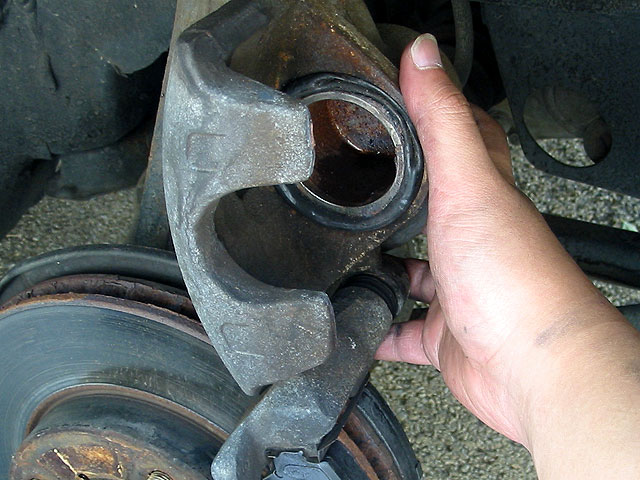
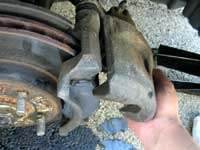
| Now install the pads back into the calipers. |
|
 |
|
| Once they are in position, push the pads
all the way in. |
|
 |
|
| The caliper is still positioned for worn
down pads, so you will need to move the caliper to fit over the new
pads. Grasp the caliper firmly from the back, over the top pin that
is still installed. Firmly but slowly pull the caliper toward you
until it is lined up with the new pads. |
|
 |
|
| Now swing the caliper down slowly to make
sure it clears both pads. Try not to let the caliper rub off the anti-squeal
grease too much, but it's going to happen so don't worry too much
about it. |
|
 |
|
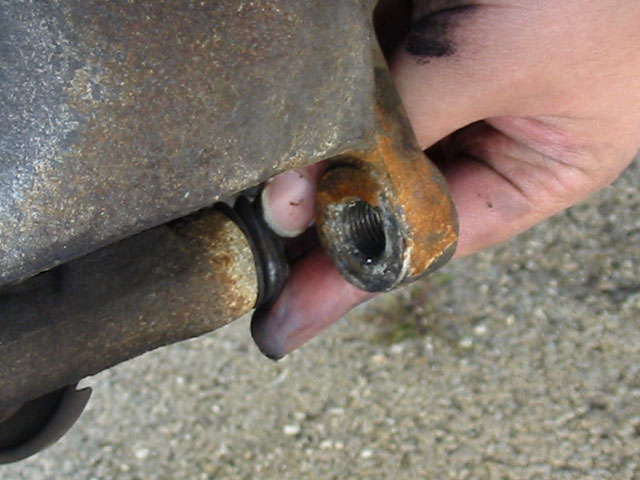
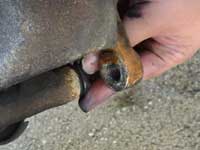
| You'll notice that there is a little rubber
boot where the pin goes. You will need to hold this in the correct
position as you lower the caliper so that the holes line up. |
|
 |
|
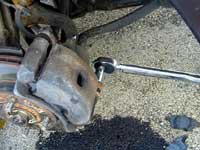
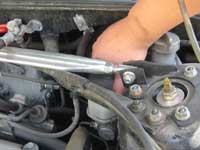
| Replace the pin. Hand tighten, then use
a torque wrench to tighten the pin to spec (54 lb-ft). |
|
 |
|
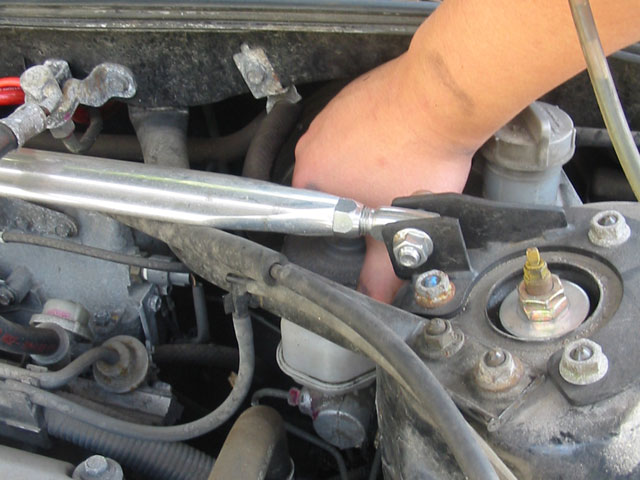
| Now replace the cover to the brake fluid
reservoir. Even though you've only done one brake, you're going to
charge the brake system. This way the system is full of brake fluid
again so that when you move to the next corner of your car, it will
reduce the chance that the brake fluid will overflow when you compress
the next piston. |
|
 |
|
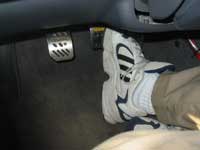
Go into your car and pump the brakes to
charge the fluid system and make sure they are functioning correctly.
Replace your wheels and lower the car off the jacks, then repeat for
the other side.
Start up the car and get it slowly rolling then brake to make sure
everything works. Then go a little faster to 15 mph and brake again.
Work your way up to 20, 30, 40, 50, 60 and brake to a complete stop
to test the brakes and break them in. |
|
 |
|
Now my brakes seem a little crisper and
quicker to grip. I'm not sure if this is because the fluid system
is fuller than normal with the thicker pads or if it's just because
the pads are new but they certainly feel and respond much better.
Changing your brake pads is extremely easy. Even as a beginner, it
should take 2 hours max. Probably 1 hour if you know what you're doing.
|
|
|
|
| Preparation |
Installation |
|
|
| |
|
|