| |
|
click for a larger image |
Since I already installed a cold air intake, it is
time to remove the next bottleneck: the headers. The headers connect
directly to the engine and vent away the exhaust gasses. By purchasing
better headers you can increase the amount of exhaust that can flow
as well as improving the timing of the exhaust to flow smoother and
more freely.
As each cylinder in your engine fires, it produces exhaust. All the
cylinders work at different times so you end up with pulses of exhaust.
These headers are specifically designed to combine the pulses at a
steady rate to maximize efficiency. |
|
 |
|
These are 4-2-1 headers because it take the 4 exhaust
pulses (from 4 cylinders), combines them into 2 pipes, and then into
a single pipe. Some high performance headers are 4-1 b/c they combine
all 4 pulses into a single pulse right away. The 4-2-1 header is better
tuned for street driving at lower RPMs.
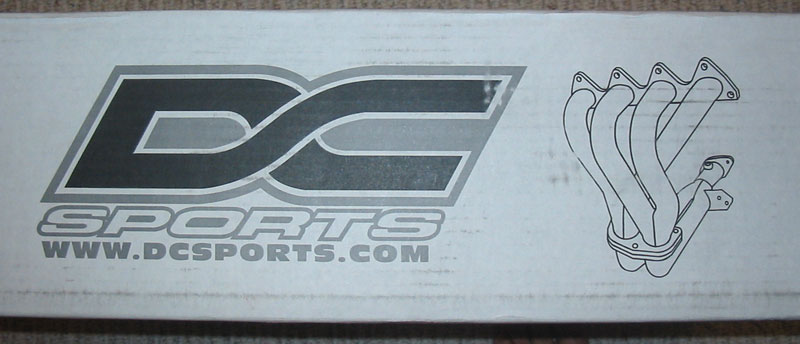
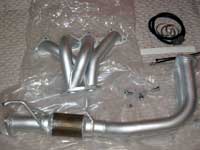
I chose DCSports Ceramic Coated 4-2-1 headers. The ceramic coating
acts as in insulator so your engine bay doesn't get as hot. In addition,
ceramic does not discolor as much as stainless steel and is slightly
cheaper. Here you can see the box.
|
|
 |
|
Stainless Steel headers look nicer and are good for
shows, but tend to become discolored after time and will heat up your
engine bay more. Plain steel (such as stock) are also available but
don't look too good.
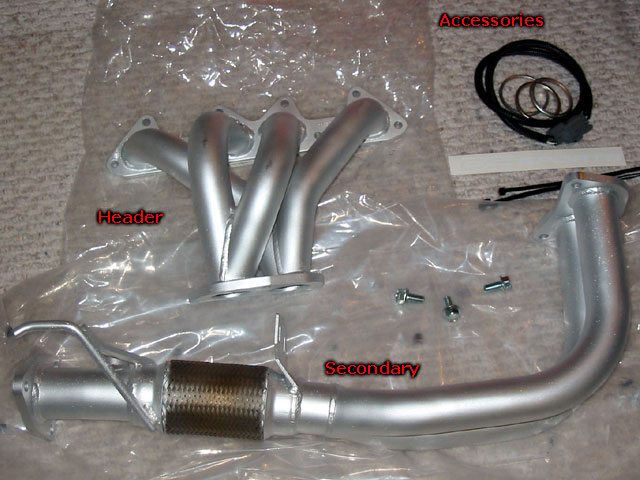
Here are the contents of the box. 4-2-1 headers are often made in
two parts which makes it easier to work with in a cramped engine bay.
You can see the shiny greyish color of the ceramic coating. Stainless
is usually polished to a mirror finish but gets dirty over time. Plain
steel is your typical boring, stock, iron color. |
|
 |
|
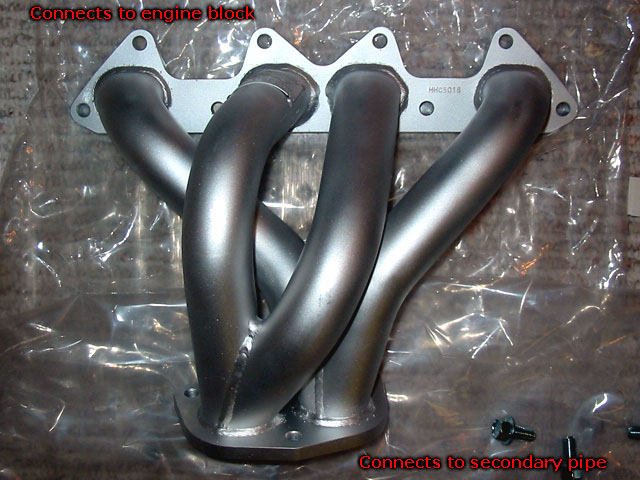
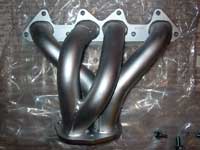
| Here is the main header which bolts directly to the
exhaust ports on the engine block. The special curving of the header
pipes act to time the exhaust pulses just right so that they flow
as smoothly and efficiently as possible. Here you can see that 4 pipes
are merged into 2. |
|
 |
|
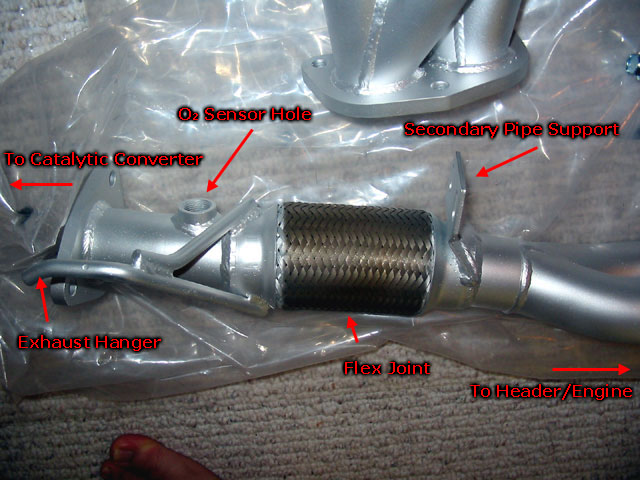
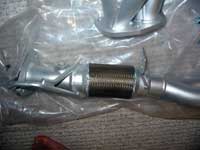
| This is the second part of the header system, called
the secondary. Off the picture is where the 2 pipes coming out of
the header are merged into a single pipe. In the center is a flex
joint that allows the pipes to move while driving. On the left you
can see one of the hangers used to attach the header to the car, as
well as a hole for the O2 sensor, which let's the car's computer know
how the engine is performing and polluting. |
|
 |
|
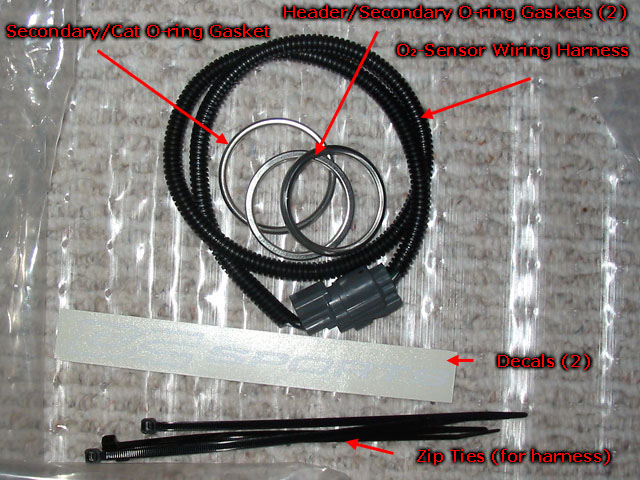
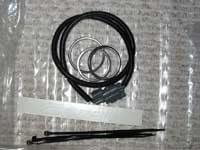
| Here's a pile of accessories, which include 3 metal
O-ring gaskets, an extension wiring harness, some decals and some
zip ties for the harness. |
|
 |
|
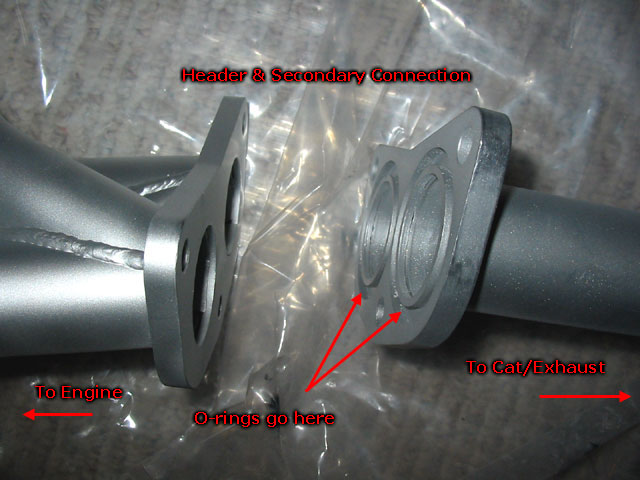
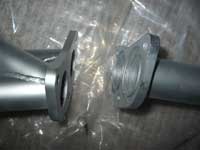
| Here's a shot of where the header and the secondary
join up. As you can see, there's only two pipes at this point. |
|
 |
|
| Introduction |
Installation | Installation 2 |
|
|
| |
|
|