| |
|
click for a larger image |
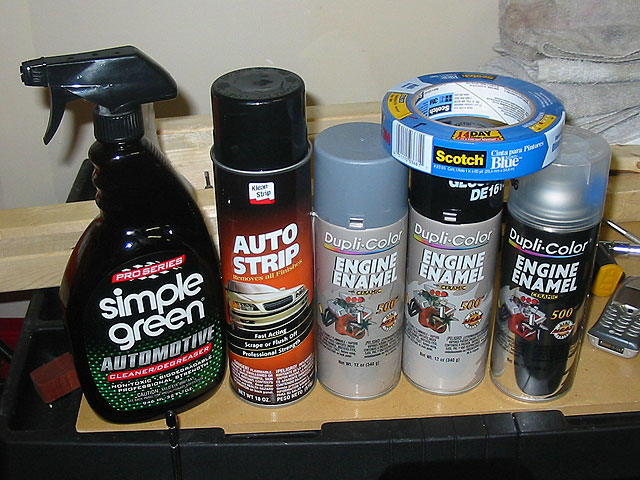
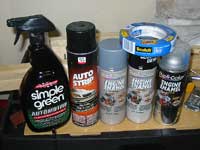
Here are the supplies you will need: Simple
Green to clean up the oil, paint stripper, engine primer, engine paint,
engine clear coat and some masking tape if you want your letters to
be a different color.
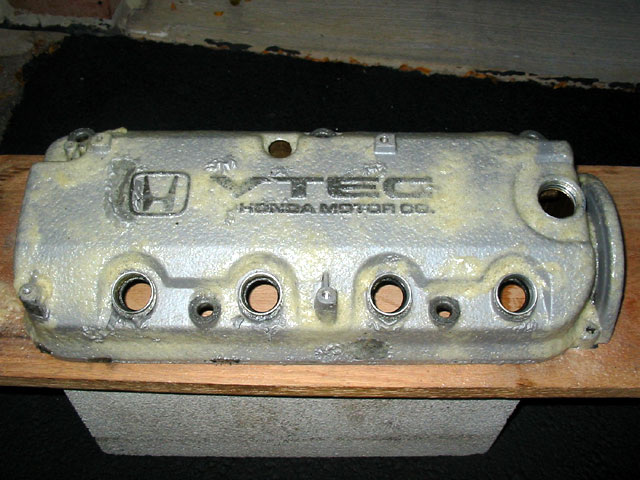
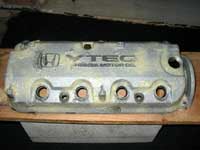
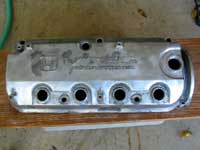
First things first, remove
the valve cover. As you can see from that DIY, the old paint was
starting to peel due to corrosion. |
|
 |
|
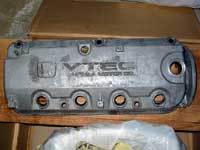
After cleaning the valve cover (a quick
wipe down is fine) spray on the paint stripper and let it set 10-20
minutes. The longer you let it sit, the softer the paint will be and
the more it will bubble. However, if you leave it too long it will
start to dry out and harden again.
Here you can see that all the areas where the paint is cracked or
corroded or at the edges, it has bubbled up. This makes paint removal
easy, but not all the paint responds like this. If it still has a
good clean bond to the metal, the paint will just soften and you will
need to scrape or scrub it off. |
|
 |
|
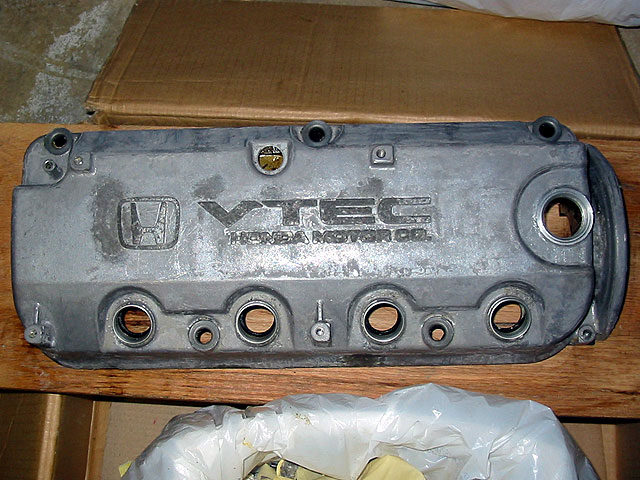
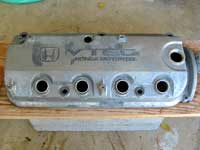
| I used a small 1" putty knife to
scrape off as much paint as possible. After this first stripping session,
this is what the cover looked like. You can see the corroded areas
are showing up darker. |
|
 |
|
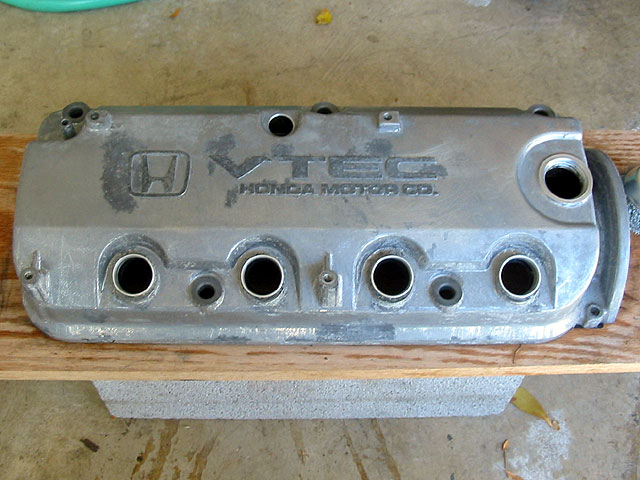
| Apply a second coat of stripper and let
it sit. Then scrub the rest of the paint off with a grill brush, scouring
pad or whatever. When you're done rinse it off. Since the valve cover
is aluminum, it won't rust. |
|
 |
|
Next, sand down the cover. You could use
sand paper, but that seems like a pain. I ended up buying a fine steel
wire wheel that you put into your electric drill. That helped a lot,
but there were a lot of nooks and crannies I couldn't get to. For
those I used a dremel with a scouring wheel.
After a while, I had worn through all my scouring wheels and still
couldn't get all the old corrosion and paint off so I just gave up.
With everything sanded and smoothed out, the new paint should still
stick. |
|
 |
|
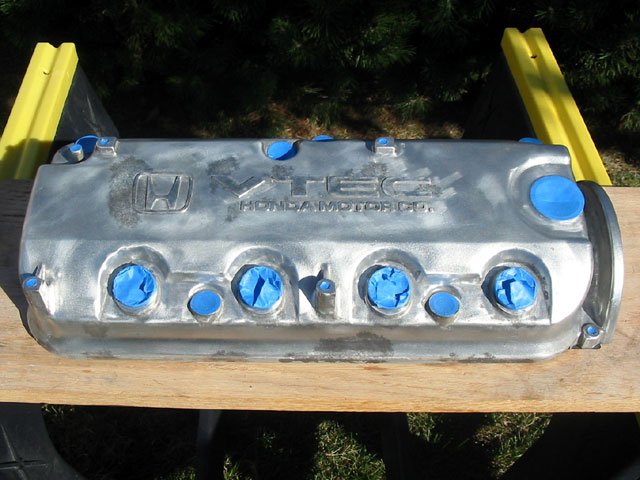
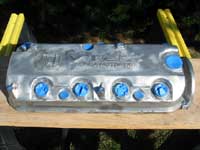
Give the valve cover a good rinse, making
sure to flush water through the PCV Valve hole to wash out any debris.
Then do a quick clean with a little Simple Green and dry it off.
Mask off all the holes that aren't supposed to be painted. I used
painters tape and an x-acto knife to trim it all. |
|
 |
|
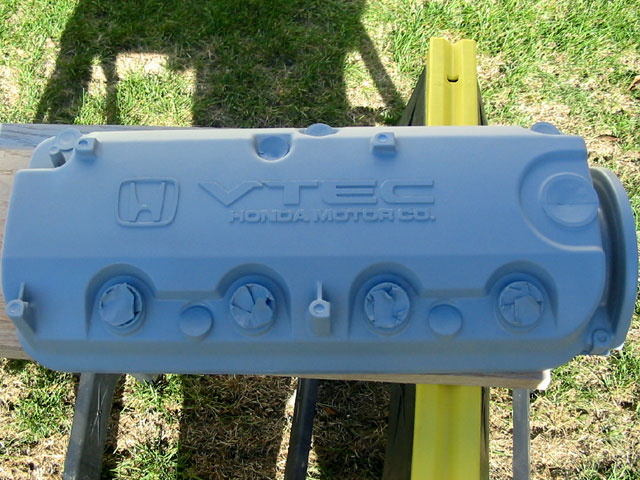
| Apply 1-2 coats of primer all around,
waiting 10 minutes between coats. |
|
 |
|
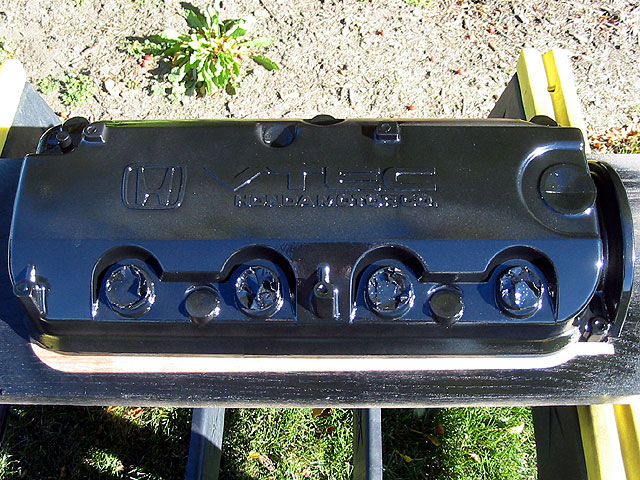
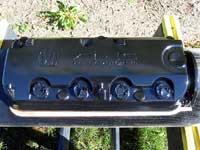
| Follow that with 2-3 coats of the color
paint you want. |
|
 |
|
Follow that with 2-3 coats of clear.
After allowing it to dry for an hour, it should no longer be wet,
though you shouldn't handle it yet. This is a good time to remove
all your tape. If you wait for the paint to dry completely, you may
pull some paint off along with the tape. |
|
 |
|
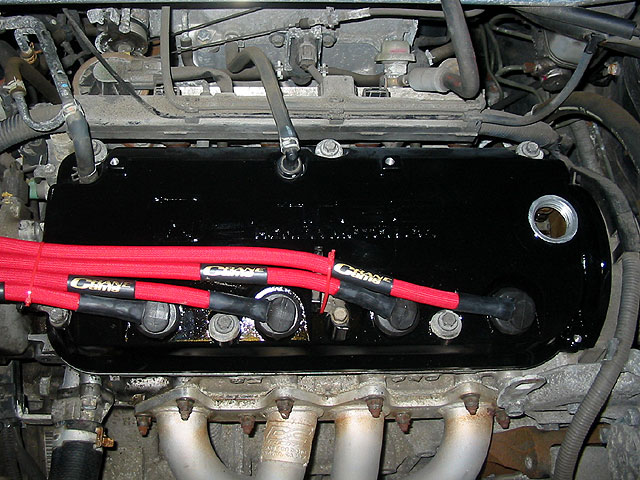
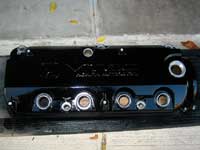
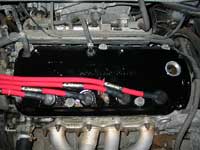
Here it is installed in the engine bay.
It was late and I needed the car the next morning so I gave up cleaning
everything else.
If I had the time and wasn't so lazy, I'd paint the letters as well
as all the bolts which are noticeable corroded as well.
For good measure, I changed the oil and filter the next day in case
any debris got in. |
|
 |
|
| |
|
|