| |
|
click for a larger image |
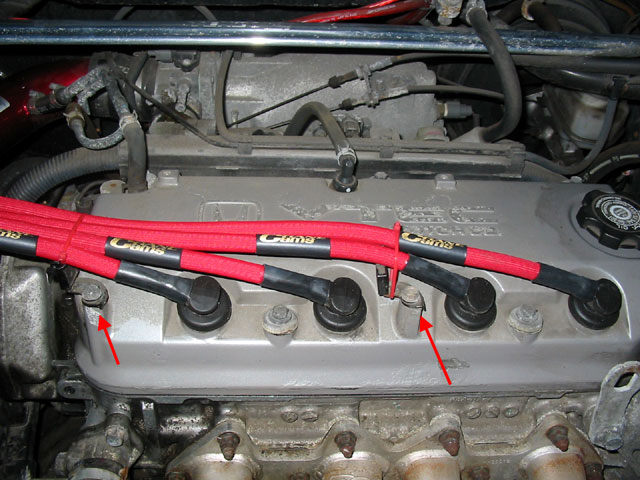
To remove your valve cover, start by removing
the bolts holding the spark plug wire brackets. These bolts (and all
others on this page) are 10mm.
Once the brackets are free you can pull out the spark plug wires and
push them to the side out of your way. |
|
 |
|
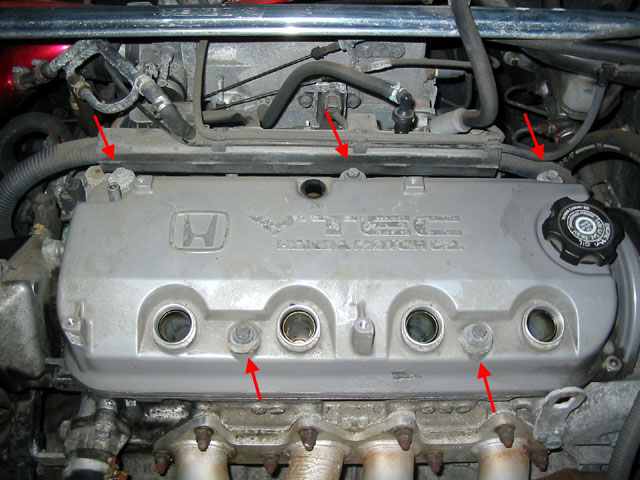
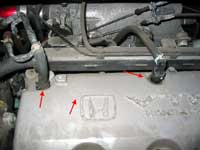
Remove the breather hose (left) by using
pliers to uncrimp the clamp, then wiggle the breather hose off.
Then grab the PCV valve (right) and wiggle until it pops off. Wipe
off the valve and the rubber grommit still in the head. Wiggle the
grommit out .
The middle arrow shows where some of the paint is pealing due to corrosion. |
|
 |
|
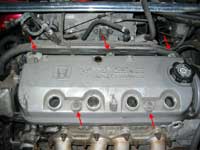
| Once all the bits and pieces have been
removed, you can loose the five bolts holding on the valve cover. |
|
 |
|
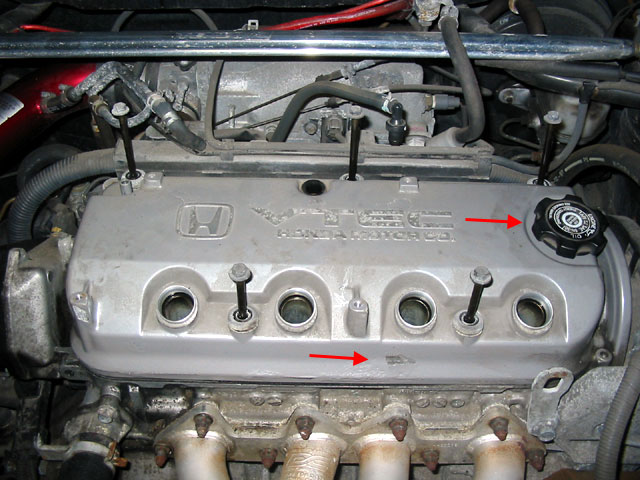
The five bolts are all long. You may need
to tap on the valve cover while pulling up on it or on the bolts to
free it. Do not try to pry it off by jamming a screw driver between
the head and the valve cover.
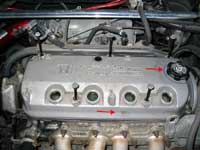
Don't forget to remove the oil cap (right). You can also see additional
paint flacking (bottom). |
|
 |
|
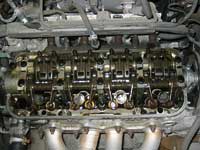
| Once the valve cover is freed, carefully
pull it up and slightly toward you to clear the spark plug housings.
You can now peruse the complex looking innards that are your valve
train. |
|
 |
|
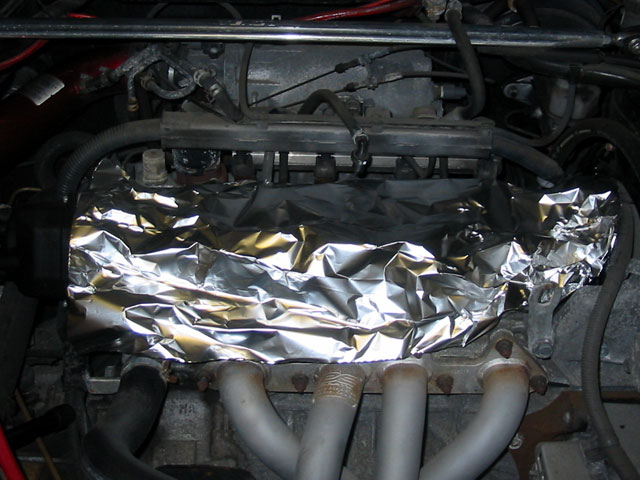
From here you can do a few things. Change
your valve cover and spark plug gaskets, adjust your valves or paint
your valve cover.
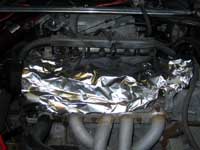
If you're going to leave the cover off for a while, you may want to
cover up the valve train so random crap doesn't fall into it. I used
aluminum foil since the cover is made of aluminum anyway. |
|
 |
|
Change
Gaskets | Paint Cover
| Adjust Valves
|
|
|
| |
|
|