| |
|
click for a larger image |
Start by cutting all your wood according to the sizes in the plan.
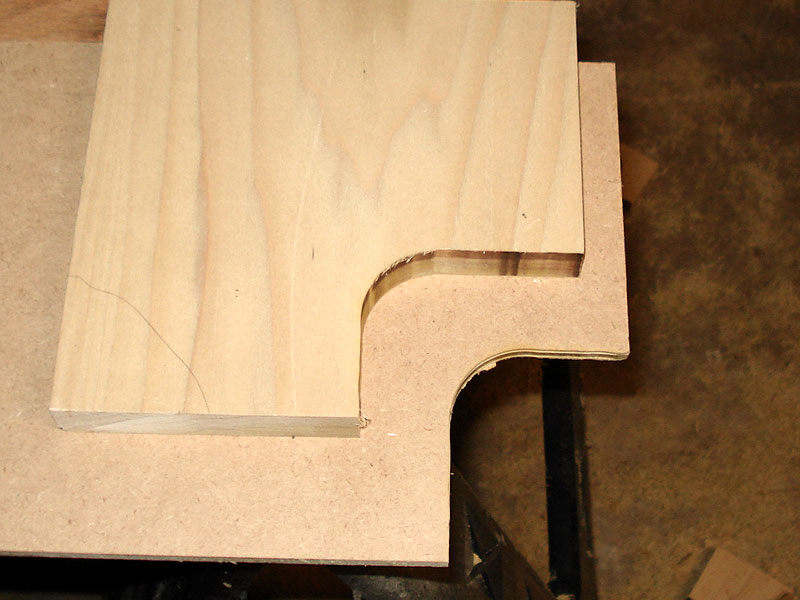
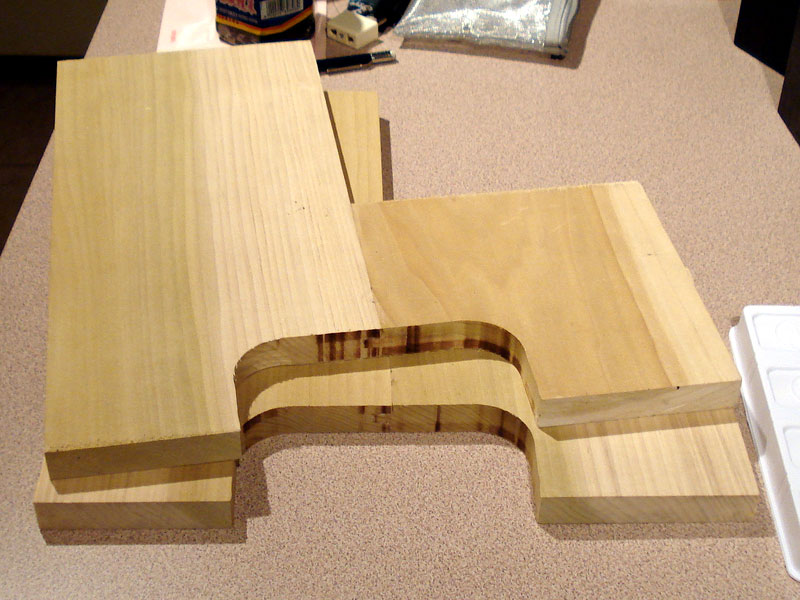
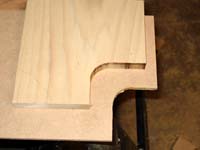
This stool has an arch cutout at the bottom of the end pieces. The plans suggested assembling the end pieces first, but instead I made a half-arch template and shaped each of the four pieces before they were assembled.
I used a door-knob drill and circular saw to create the curved template in some 1/4" MDF.
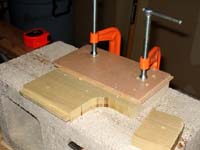
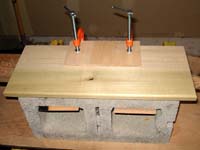
I then clamped the template to the four end-pieces and routed the pieces with a flush-trim bit.
|
|
 |
|
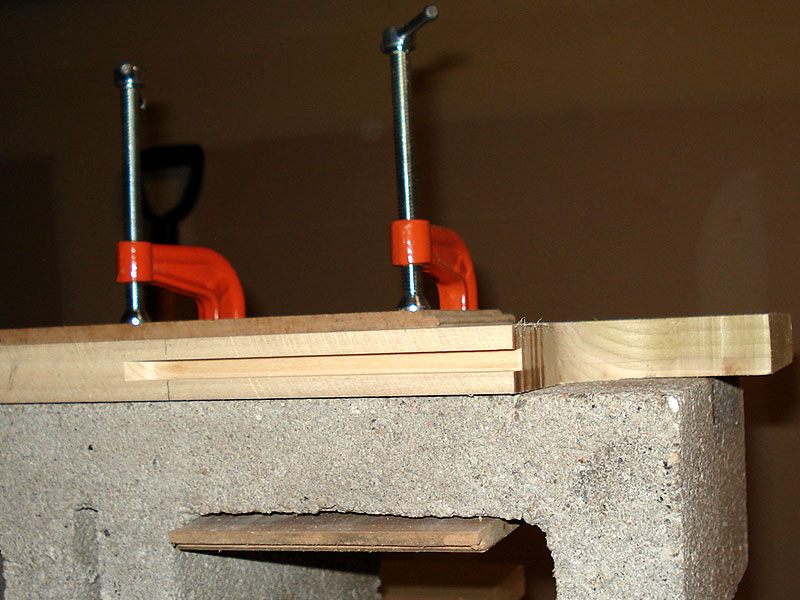
To join the pieces to form the completed end pieces, the plans suggest using a biscuit joint which involves cutting slots and gluing in small round wood pieces. This is a common technique, but I didn't have the proper tools, so I went with a tongue and groove joint, which is also very common.
Here is a picture of the groove side. Even though the tongue and groove concept is simpler, it can be tricky b/c they have to be perfectly centered to fit properly so always use scrap to test your cuts before working on your final pieces. |
|
 |
|
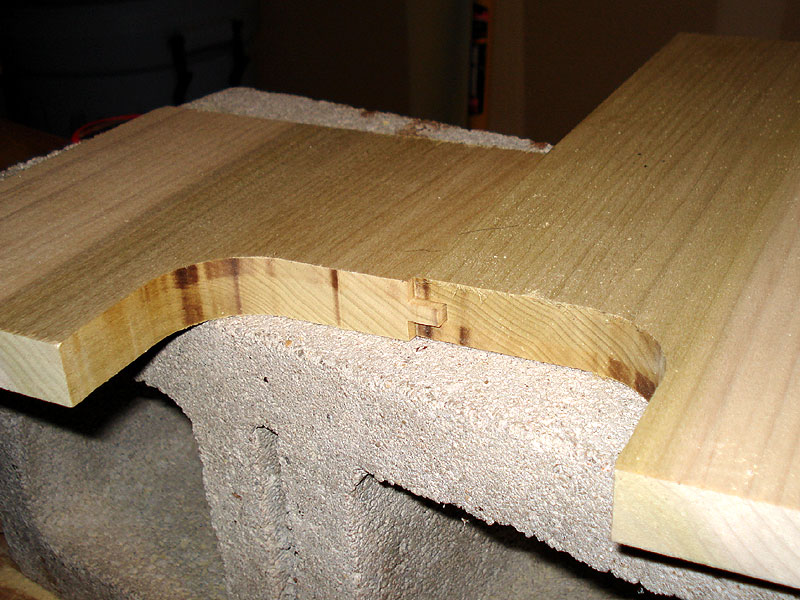
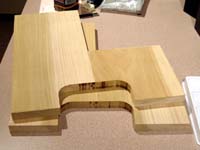
A biscuit joint joins two flush pieces together while the tongue & groove inserts a tab (tongue) on one into a slot (groove) on the other and affects the size of the wood. Because of this, I had to alter some of the cuts and measurements and the arch is now off by 3/8" while the overall size is off by 1/8". Oh well, live and learn...
Here's a picture of the tongue side. |
|
 |
|
Make sure they fit together.
Mine are not perfectly centered, but it is barely noticeable. |
|
 |
|
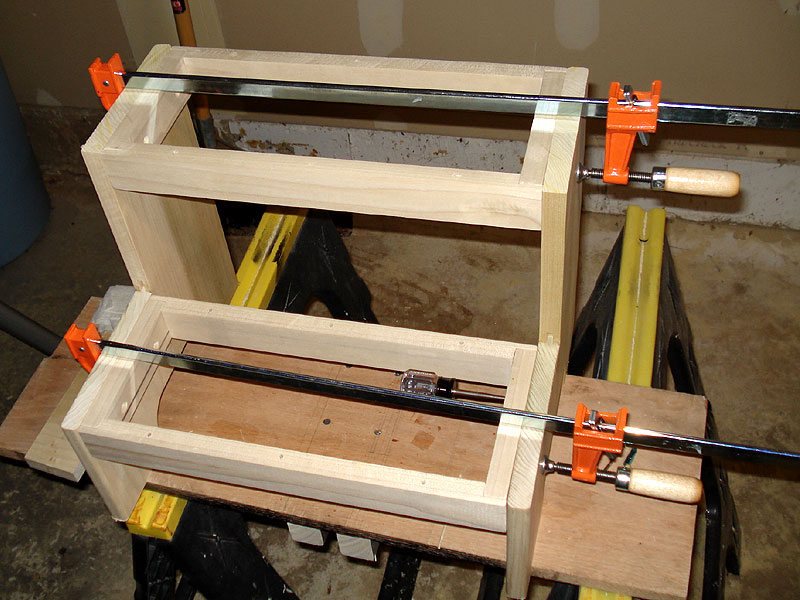
| Once you are certain of the fit, apply a thin layer of wood glue to the tongue and groove, then fit together, align and clamp for a couple hours to dry. |
|
 |
|
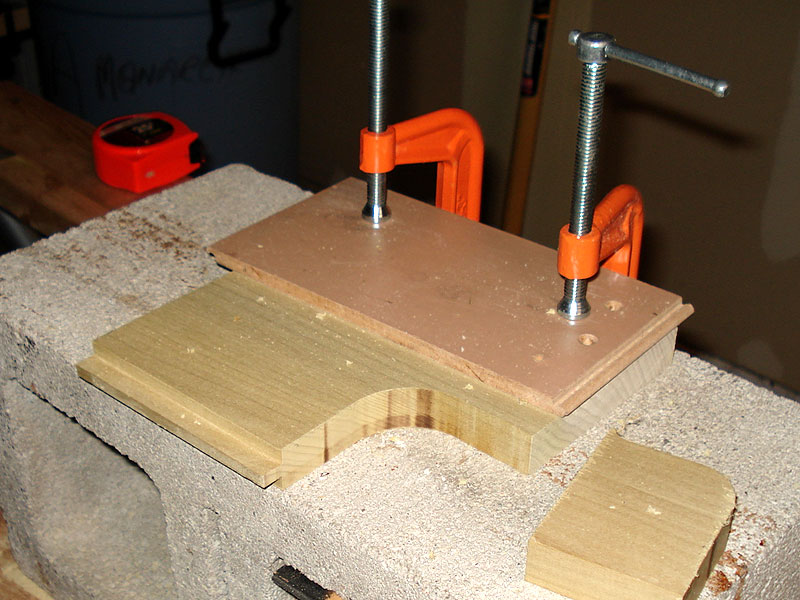
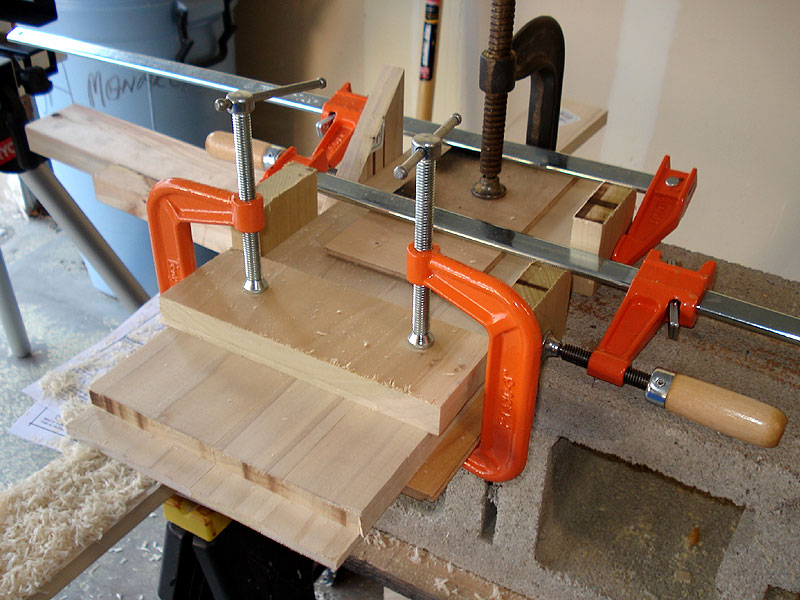
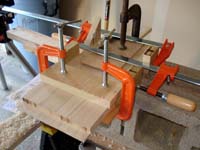
To make the supports, use the four thin pieces from the plan. You will rabbet the edges of the long pieces to fit together with the short pieces. This would be easier with a dado blade on a table saw but I had to use my router.
To simplify this, I aligned all four long pieces together so I could rout them all in one pass per side using a rabbet bit. This was by far my most complex clamping jig since I had to hold down four small pieces so they would stay aligned. I had to use all my clamps: two to hold the pieces together, two to align the pieces and the router and one to hold them to the cinder block. |
|
 |
|
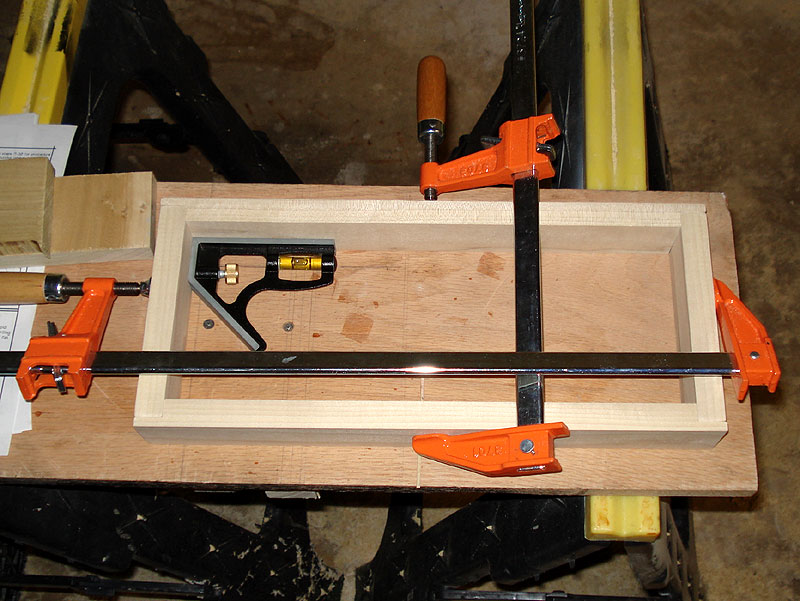
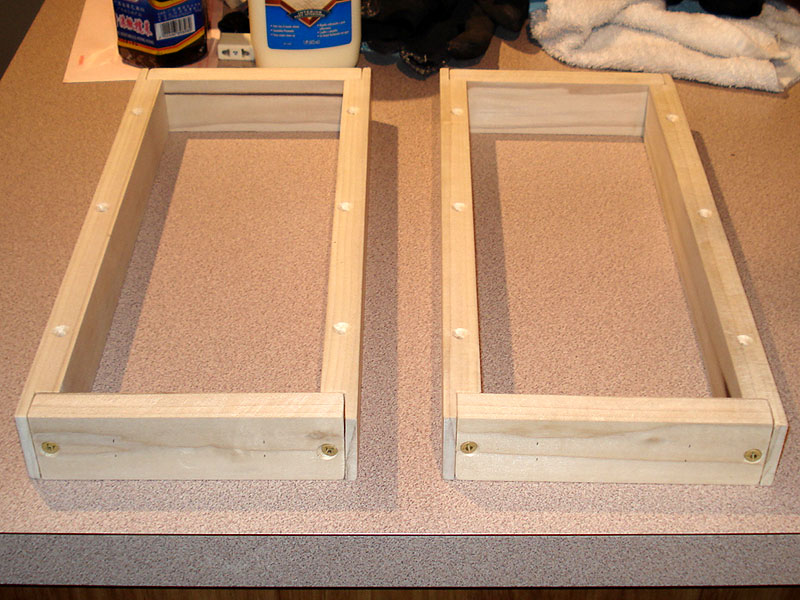
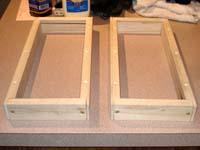
Next I clamped the supports together, made sure they were square and drilled all the necessary holes, followed by 1/4" countersinks, according to the plan. Then glue and screw them together and let these dry.
|
|
 |
|
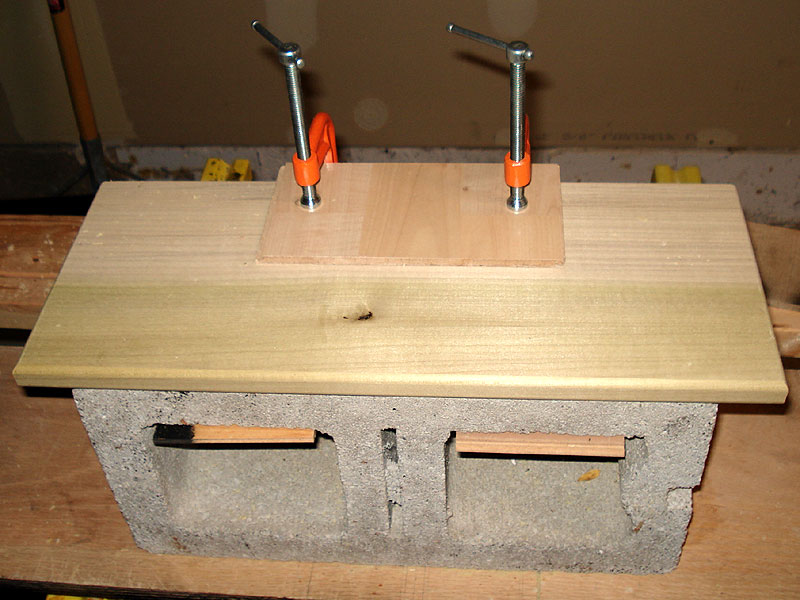
| While your pieces are drying, you can start edging some of the pieces. Here you can see that I clamped the treads to the cinder block. |
|
 |
|
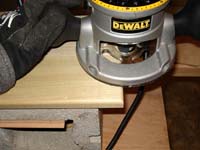
| Using a 1/4" roundover bit, rout the edges so they're nice and round. |
|
 |
|
By this time the side panels should be pretty dry so you can unclamp them and you've got some nice end pieces!
You'll need to trim the top and bottom edges according to the plan at this point (cut about 1/2" off the top and bottom) and if you want, you can rout the front and back edges. |
|
 |
|
By now, your supports should be pretty dry as well.
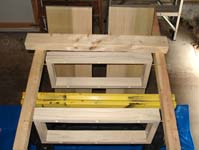
Our next step will be to do a pre-fitting assembly to align all your pieces.
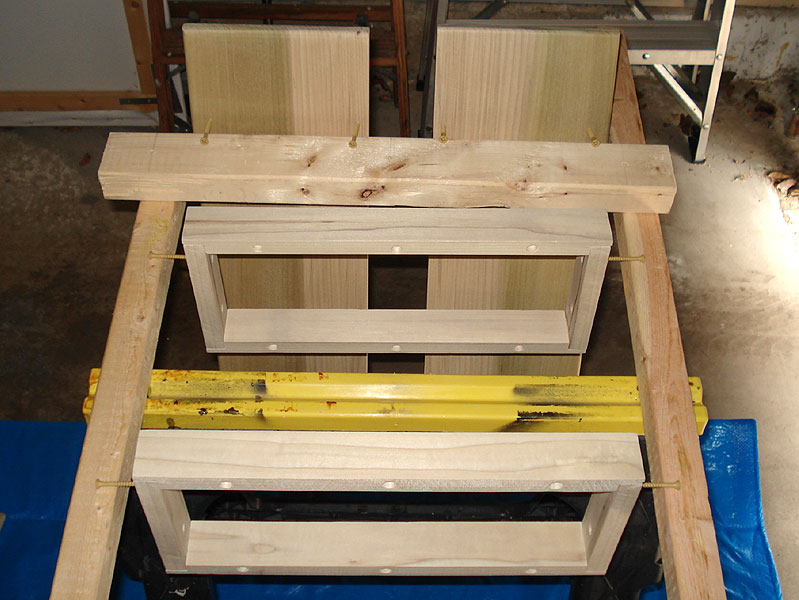
Align the front of the supports flush with the front edges of the end panels, using clamps to hold everything in place. |
|
 |
|
Using the side holes in the supports as guides, drill pilot holes into the end panels.
Then align the treads with the backs flush with the back edges of the end panels. Using the bottom holes in the supports as guides, drill pilot holes into the treads.
Now, all the major wood work is complete, so you should sand everything with medium (150) grit sand paper, followed by fine (220) grit sand paper, softening any rough edges you find. |
|
 |
|
Clean up your work shop so you don't have a lot of dust around to interfere with your staining. Perhaps pack up your tools and get a good nights sleep too?
Once everything is clean, use a damp cloth to wipe down all your wood pieces and remove any dust.
One tricky part of staining is holding the pieces without touching your stain. One way to handle this is to drive a couple screws in your pilot holes so you have something to hold while staining and so you can hang your pieces to dry. |
|
 |
|
You can then proceed with the stain of your choice. I used a combination polyurethane stain.
After the first coat of polyurethane stain, rub the stained wood with fine grade 000 steel wool or a green ScotchBrite pad.
ScotchBrite pads are convenient, they'll fit your sander and don't get mangled up as much.
Once again, wipe down the pieces with a damp cloth then apply the second coat. |
|
 |
|
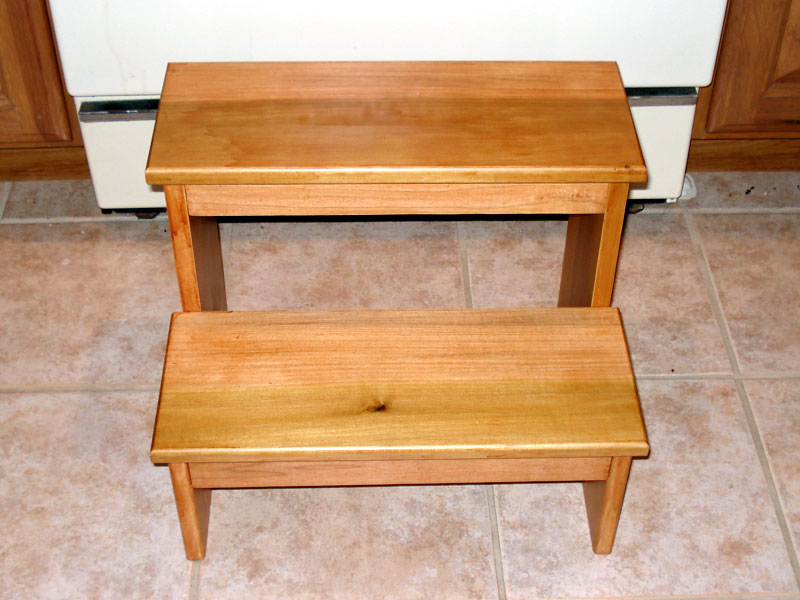
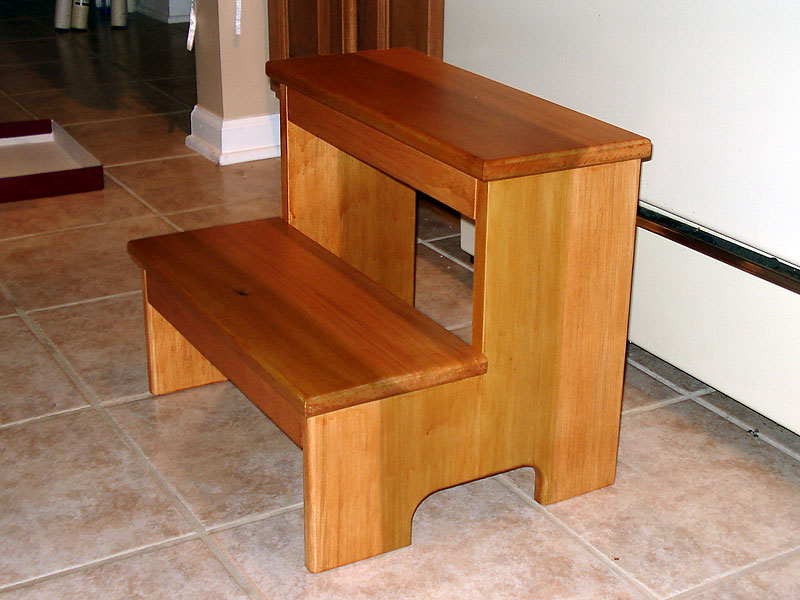
| Once everything is dry, assemble the step stool and you're ready to reach that top shelf! |
|
 |
|