| |
|
Click an image to enlarge. |
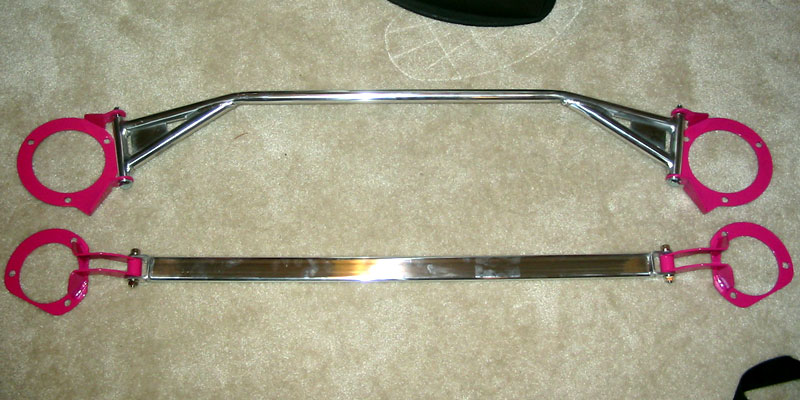
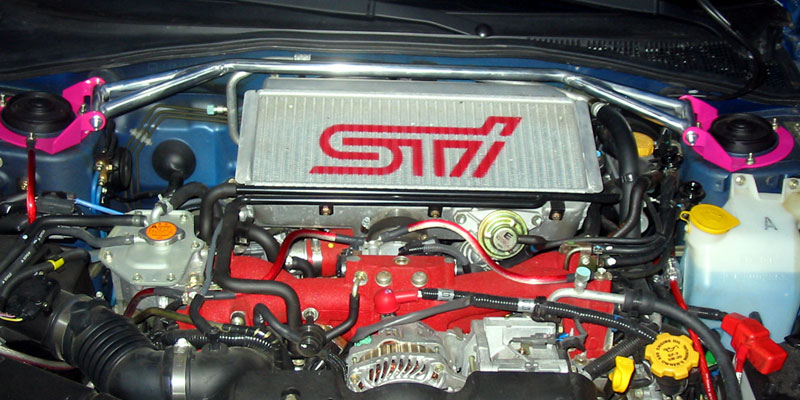
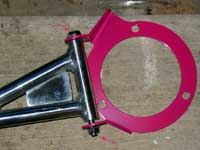
| Despite the STi's stiffer chassis, it
still benefits from additional suspension bracing so I picked up a
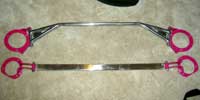
pair of strut bars off of ebay. You can get genuine STi aluminum strut
bars for about $150 each plus shipping. Or you can go on ebay and
get replicas, which are just as good, for about $50 for both, shipped.
Since strut bars just tie two points together, you don't necessarily
need super strong or super high tech bars, so these replicas are fine.
Heck, they're stronger than the strut bar on my Accord! |
|
 |
|
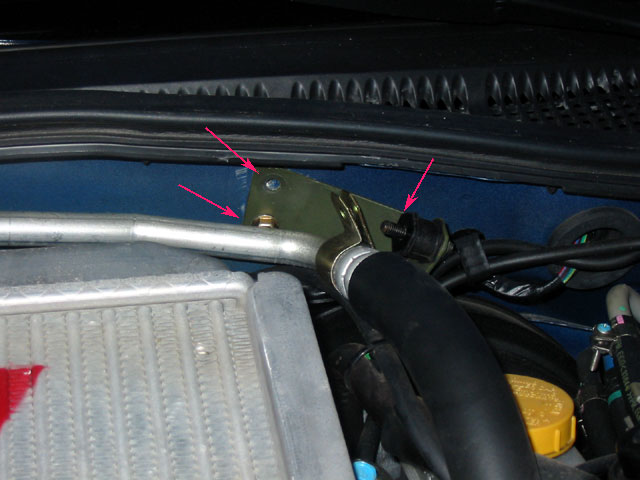
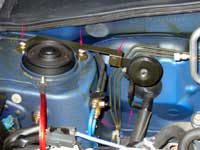
In order to install the front strut bar,
you have to move the A/C bracket which is too high. You will see that
there are two bolts holding the bracket to the firewall and one nut
holding the A/C line to the bracket.
Remove the nut holding the A/C line and pull it off the bracket. This
will allow you to push down the A/C line so you can remove the bolts
holding the bracket. |
|
 |
|
|
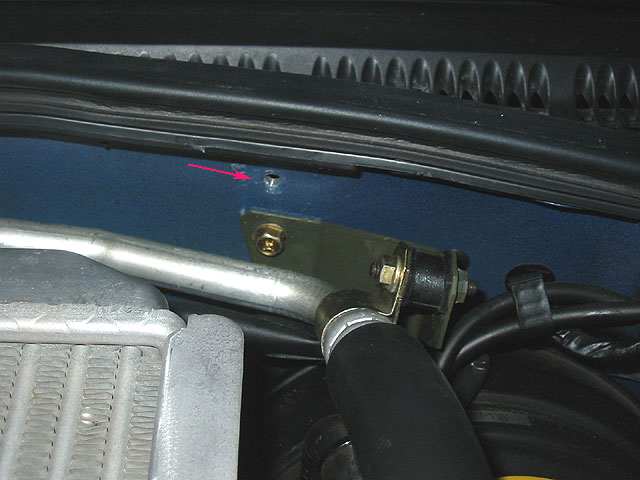
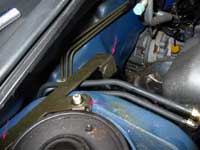
Move the bracket down so that the top hole in the bracket lines
up with the bottom hole in the firewall. Put one of the bolts back
but don't tighten it all the way. You don't need the other bolt.
Re-attach the A/C line and replace the nut securing it, again, don't
tighten it.
|
|
 |
|
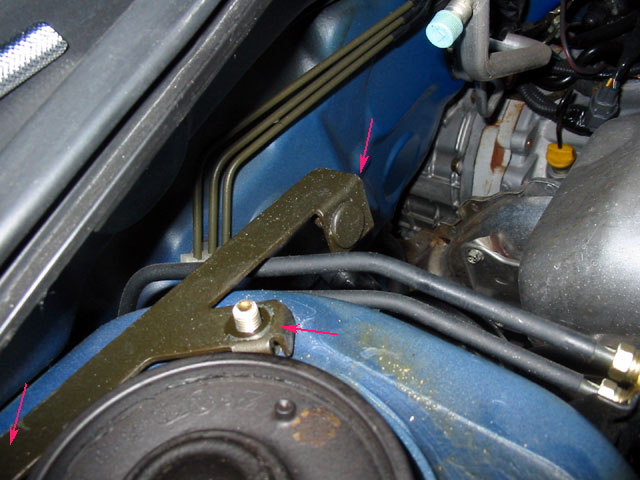
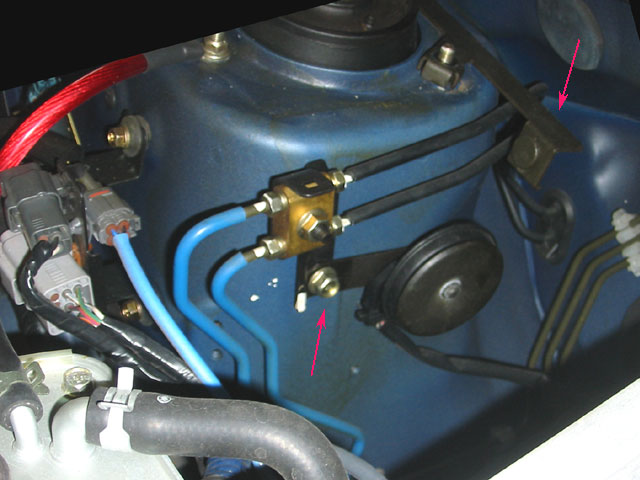
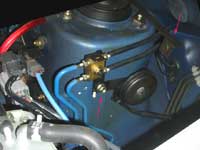
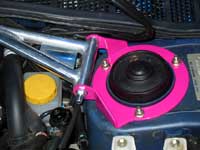
If you got a factory installed alarm
system, you will also need to move the horn they put in. It is held
on by a bracket that is bolted to the passenger side strut tower.
In this picture you can see the two nuts on the left holding the bracket
to the strut tower, plus the nut holding the horn to the bracket.
Note the wiring for the horn and also the bolt on the side fender
near it. This is where the horn will be relocated to. |
|
 |
|
| Remove the bold holding the horn to the
bracket. If it is easier, you may wish to remove the bracket first,
then undo the nut holding the horn. Either way, you want to free the
horn and you will end up tossing the bracket out. |
|
 |
|
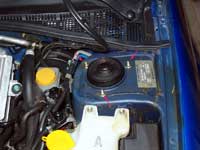
| Once the horn is separated from the bracket,
remove the bolt on the side of the strut fender, slip the alarm onto
the bolt and reattach it. |
|
 |
|
| With everything out of the way, you can
begin the actual installation. Remove the three strut bolts on each
strut. |
|
 |
|
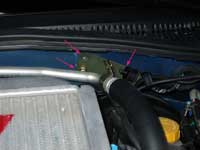
Take the front strut bar and remove the
nut. Some people recommend removing the entire bolt and installing
the brackets first, but I found that due to space issues, it is easier
to leave it all attached.
Position the strut bar over the struts. Make sure that the nut end
of the bolt is facing forward since there isn't enough space to get
a wrench to the back side. |
|
 |
|
|
Replace the strut bolts and tighten them down to 14.5 ft-lbs. Don't
overtighten them as the nuts may break. If you don't have a torque
wrench, tighten the bolts just until they give resistence, then
tighten them an additional 1/4 turn.
Replace the nut for the strut bar bolt and tighten that fairly tight.
|
|
 |
|
Grab the strut bar and make sure it is
secure. If it is, you're done.
Total install time for front strut bar: 30-45 minutes. |
|
 |
|
| Front Strut Bar | Rear Strut
Bar |
|
|
|
|
|