To install the rear strut bar, you must
remove the back seat so you can access the strut tops.
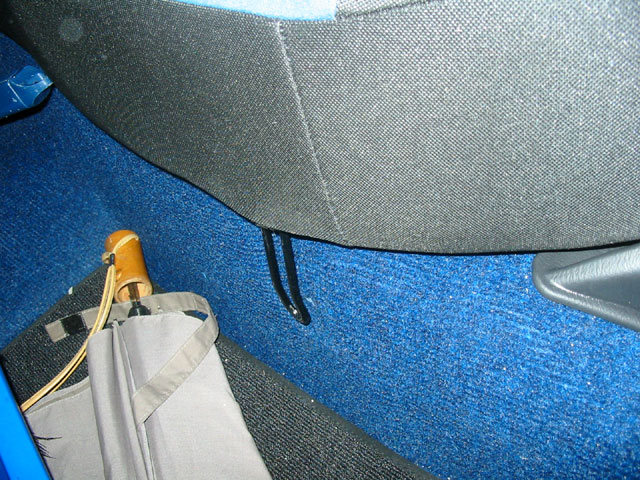
First, remove the two bolts holding down the rear seat cushion. One
on each side in front, just below the cushion.
You should be able to lift up the ends of the cushion. The center
is attached via a hook underneath, so you will want to push down near
the back center of the cushion and then pull out and the whole thing
should come out.
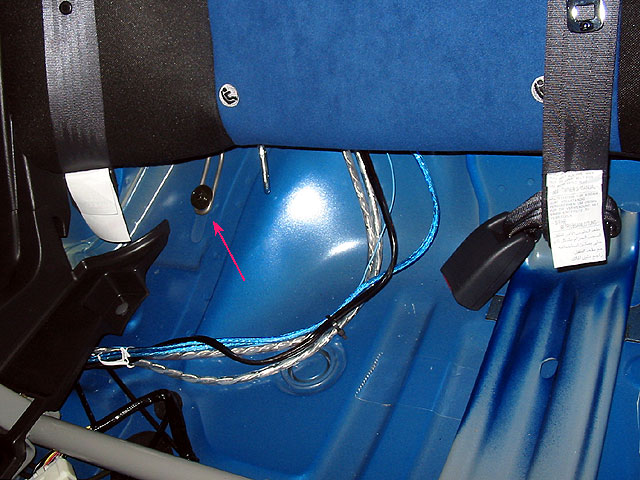
Next you need to remove the back cushion.
There are three bolts holding this one down. One is on the far passenger
side.
In the picture you can also see a carribeaner I attached to the LATCH
child restraint anchor for my tripod harness, and the signal cables
for my stereo system.
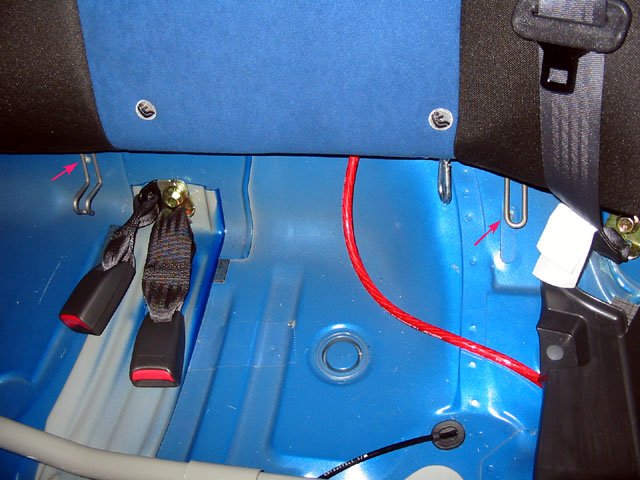
On the driver side are two more bolts. One on the end, one near
the center. Remove these as well.
Here you can also see another carribeaner and the power cable for
my amp.
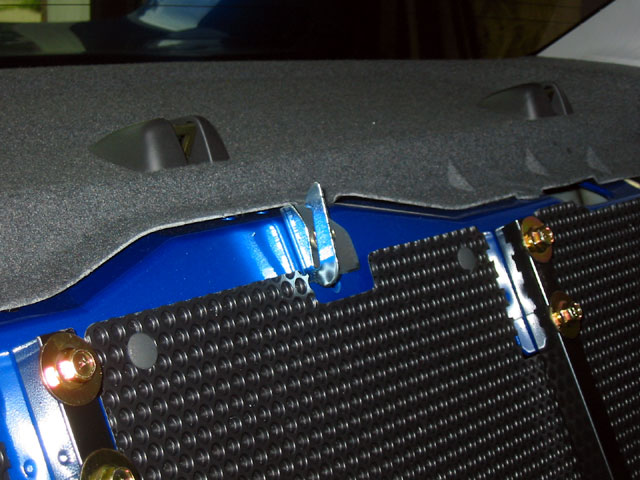
To remove the back cushion, slide it
up. There are three hooks holding it on, but the one in the center
is the hard one since it has a little lip on it. You will also need
to move the seat belts out of the way.
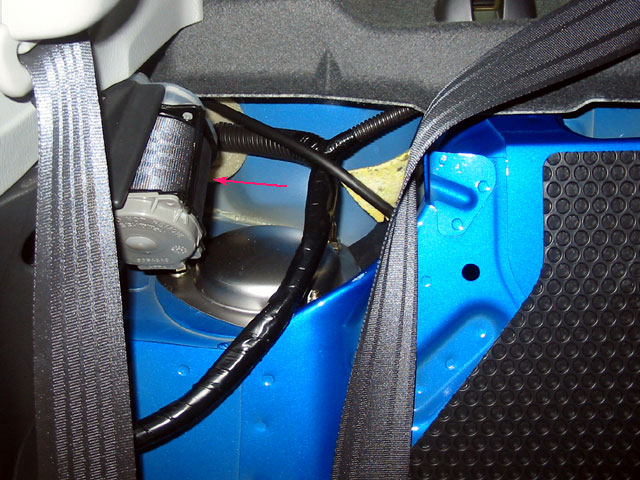
Now you can see the strut tops and you
will see that the seat belt tensioners are in the way. This picture
is of the passenger side.
The tensioners must be removed. They are
held on by a large bolt and a peg (see a couple pics below). Remove
the large bolt and while you can't see the peg, you can feel it. You'll
have to figure out how to get the tensioner to come off completely,
but it will. This picture is of the driver side.
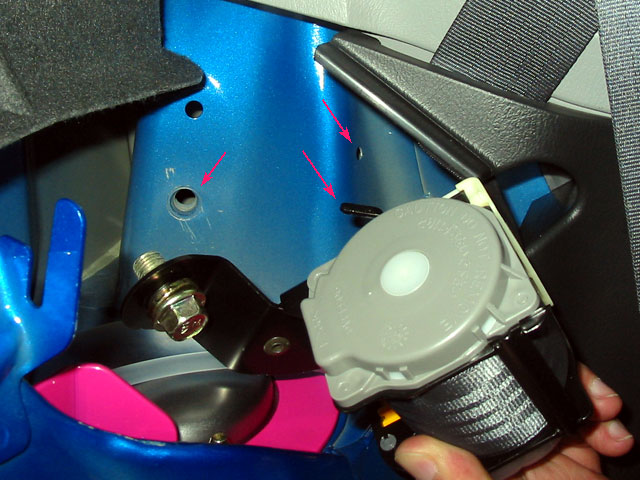
With the tensioner removed, you can get access to the three nuts holding
the strut. Remove them.
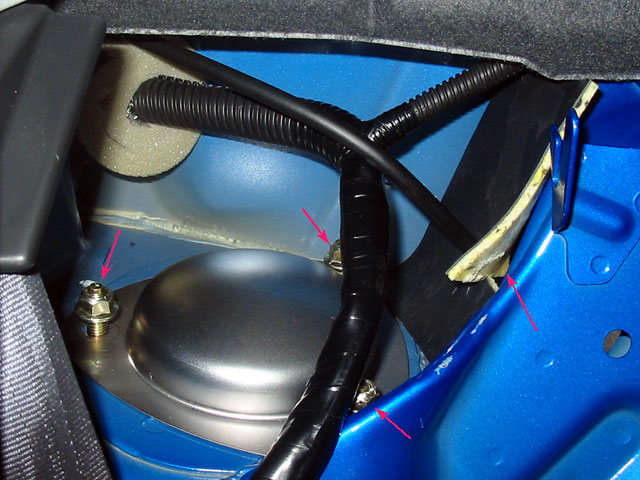
This picture is of the passenger side
again. The taped up wires are in your way a little but you can push
them around to get your work done. There are no wires on the driver
side.
You'll also notice a black or clear rubber hose. This is for your
intercooler water. You'll notice it go through some foam on both the
driver and passenger sides. ou will need to remove part of this foam
to expose a hole to the trunk where the strut bar will pass.
Remove the end brackets from the rear strut bar and place them on
the strut tops so that the part that connects to the strut bar passes
through the hole you made in the foam. The brackets should go under
the intercooler hose on both sides.
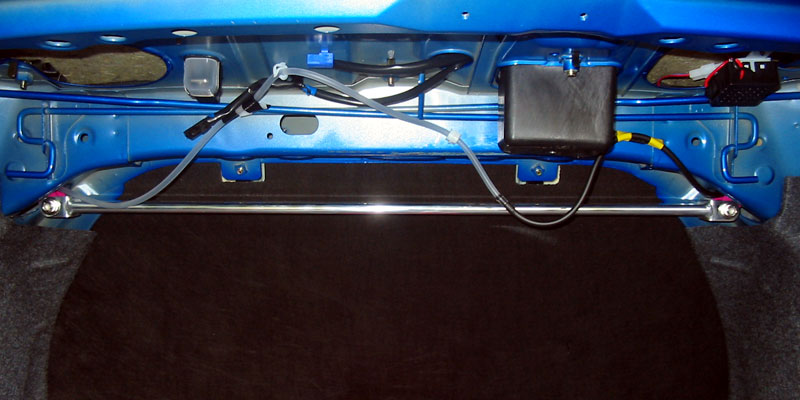
Go to the trunk and you should see the
brackets poking through the hole. Attach the strut bar to the brackets,
but don't tighten the bolts.
Go back to the strut tops. Replace the
nuts and tighten them down. Again, tighten to only 14.5 lb-ft or the
nuts may break.
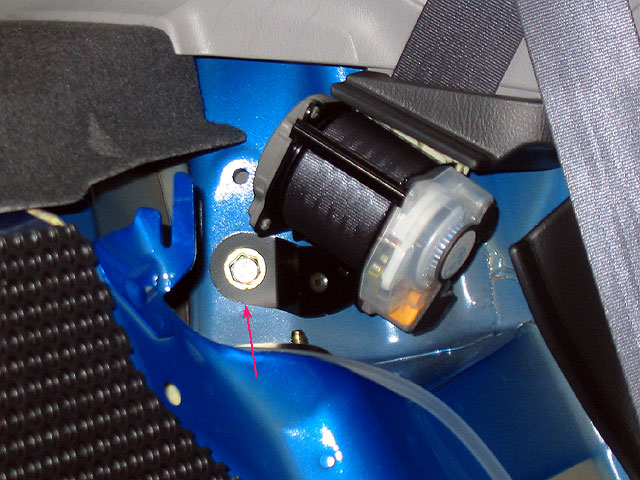
Once tight, replace the seat belt tensioner. In this picture (drivers
side) you can see the bolt and the peg that attach the tensioner.
Also pointed out is the hole that the peg fits into. Replace the tensioner
and tighten it well.
Go back to the trunk and tighten the bolts
for the strut bar. If the strut bar is secure, you're done.