After installing my panniers I felt that the rear turn signals and brake
lights were too hard to see for other motorists, even with the signal relocation kit from Happy Trails.
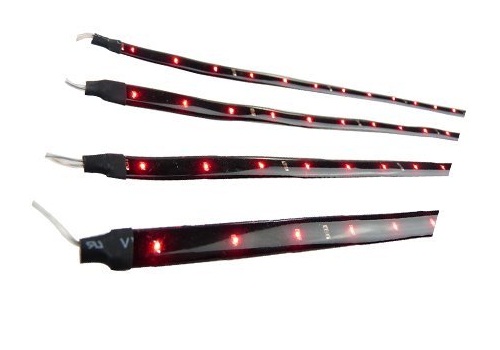
So I purchased some red waterproof LED strips from Amazon. These were pre-cut and wired,
though you can buy rolls of the stuff and custom cut and wire them if you desire.
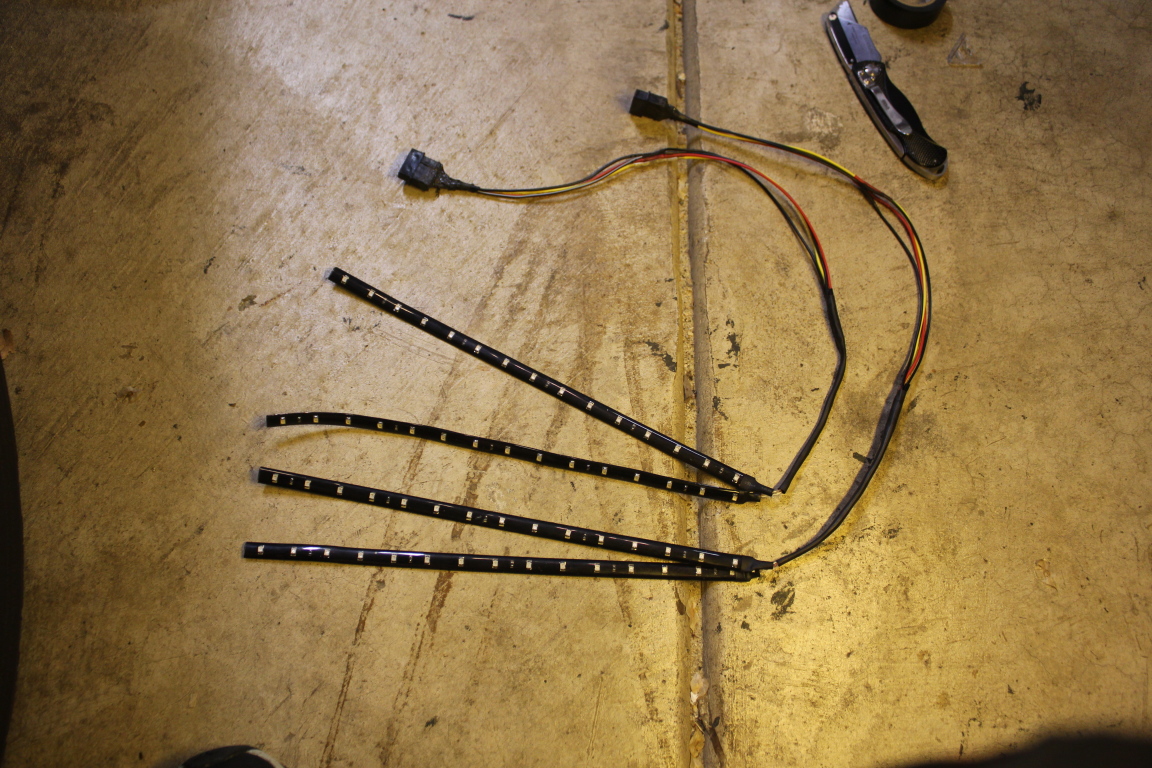
I needed a way to disconnect these when I ride without the panniers, so
I also purchased some Molex hard drive power extension cables. These have four wires, good for two
sets of LEDs (one set for signals, one set for brakes).
I cut the cables in half, so one end (male) would be
soldered to the existing motorcycle wiring and the other end (female) soldered to the LED strips (pictured).
Then the connector ends will be plugged into each other. Note that these are quite long as I originally planned to
route them differently and ended up shortening them later.
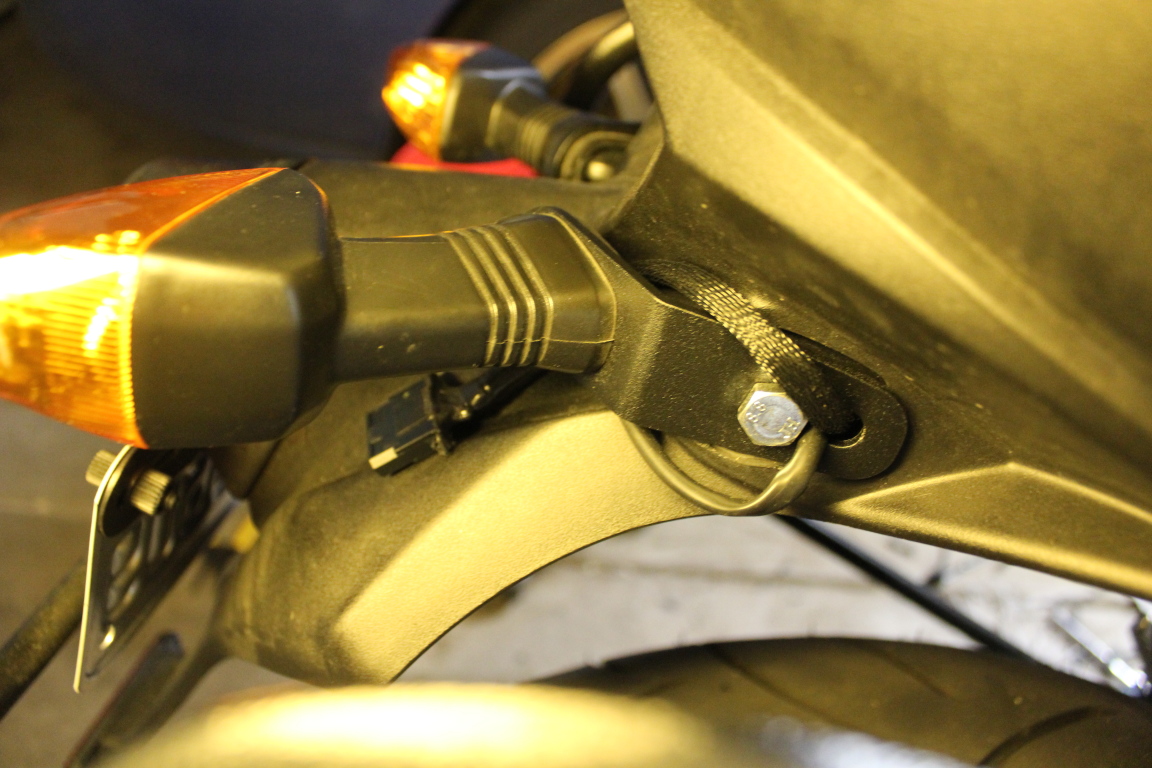
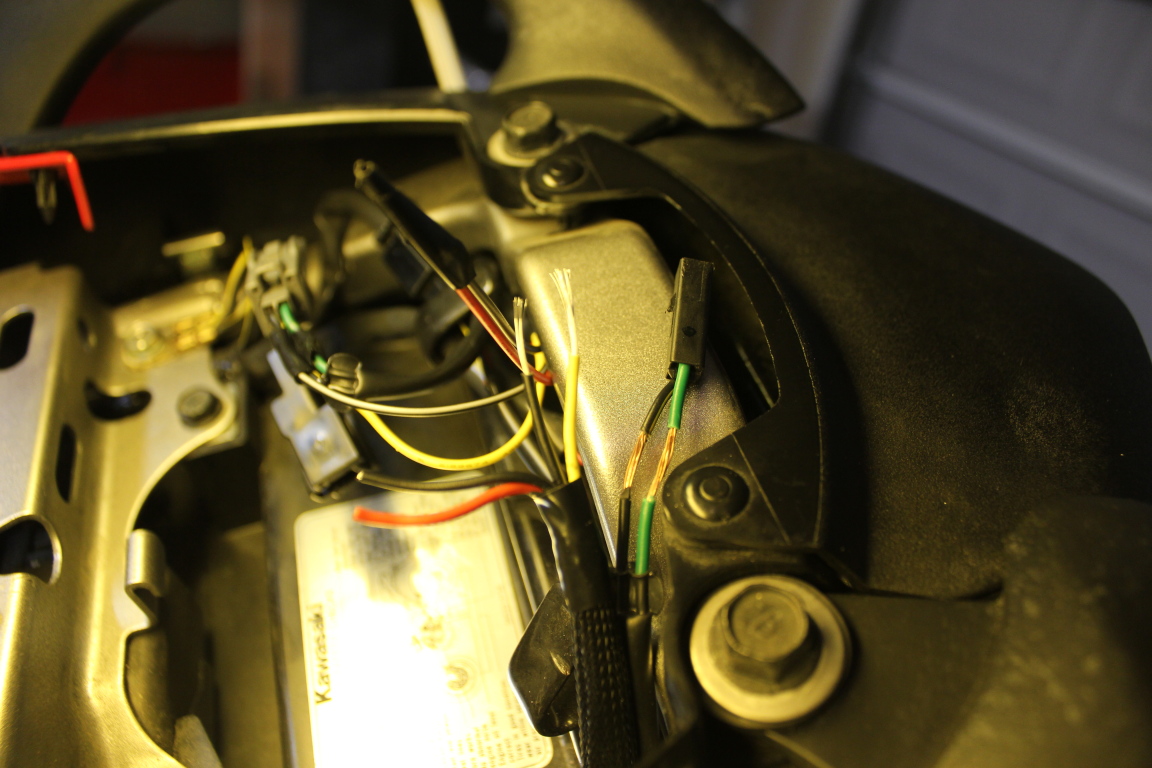
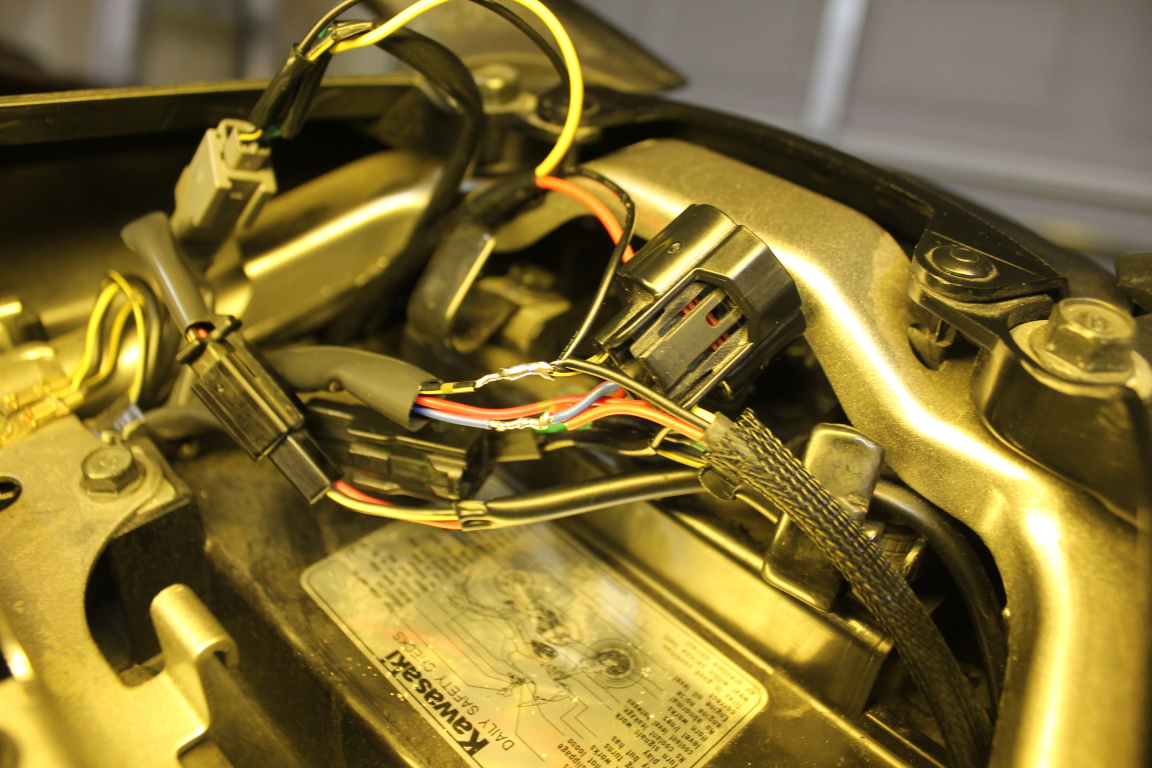
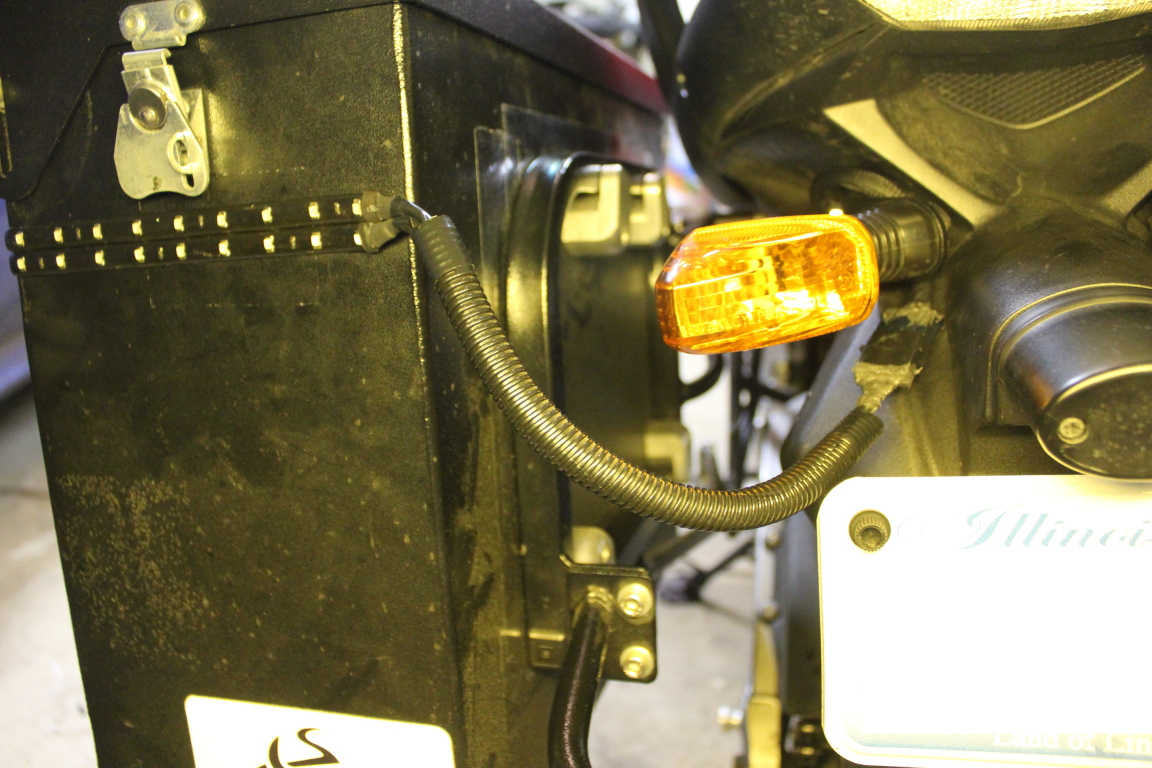
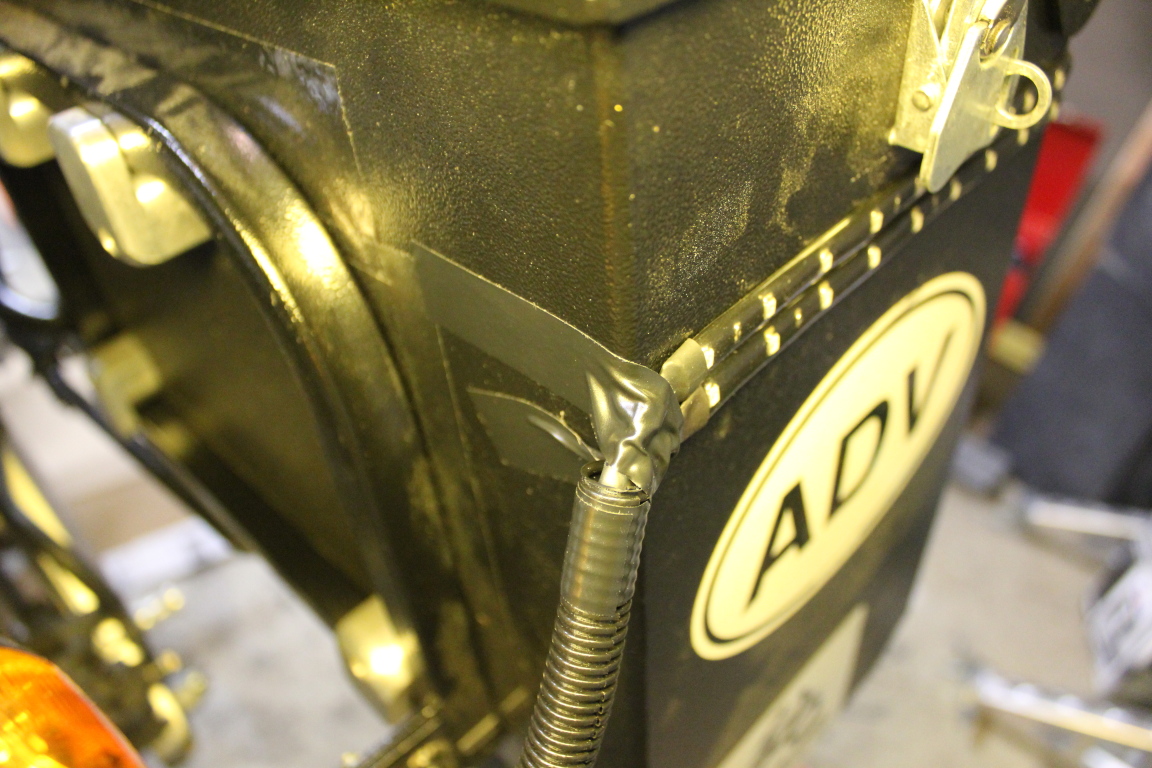
For the end that would be soldered into the existing wiring, I cut them to
length, heat shrink wrapped them and put an additional mesh wrap on (that came with the cables) for
extra protection from the elements. Here you can see that I routed them through the same holes as the
stock signal wires. Note that the reloction kit from Happy Trails are already installed here.
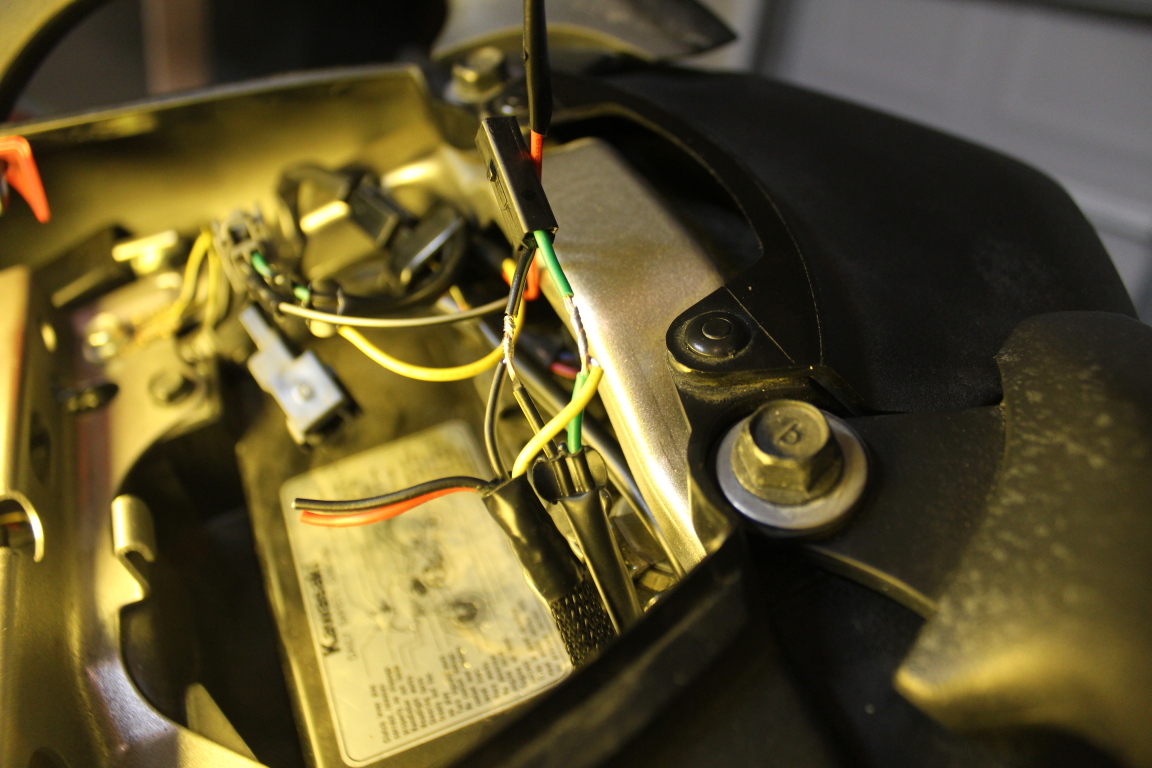
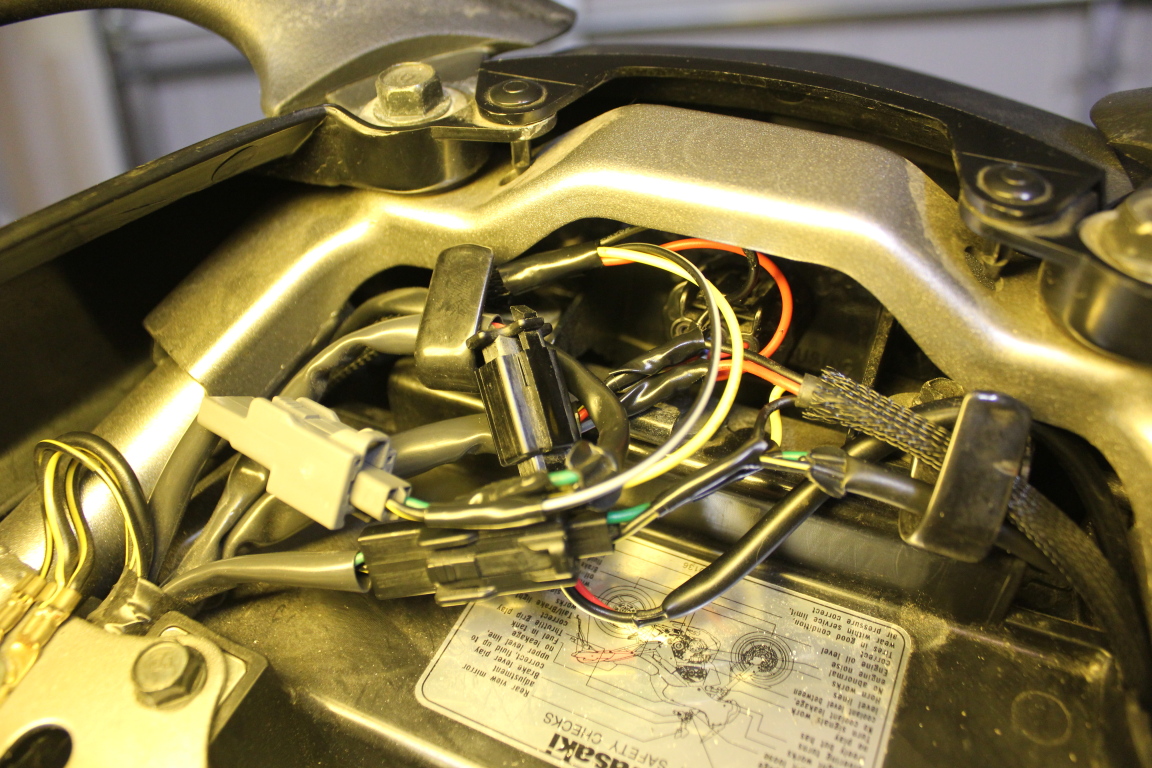
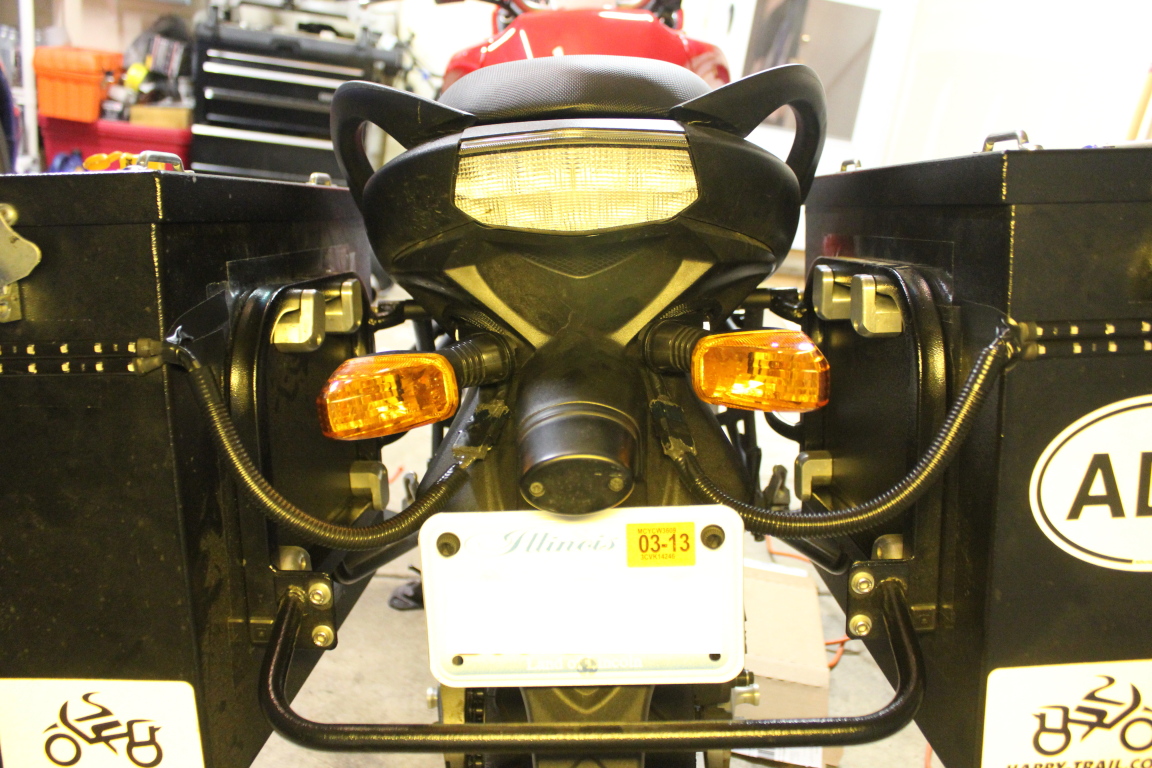
Here you can see where the male ends of the Molex connectors are when not connected.
They should be out of the way of any mud or water that might get kicked up by the rear tire.
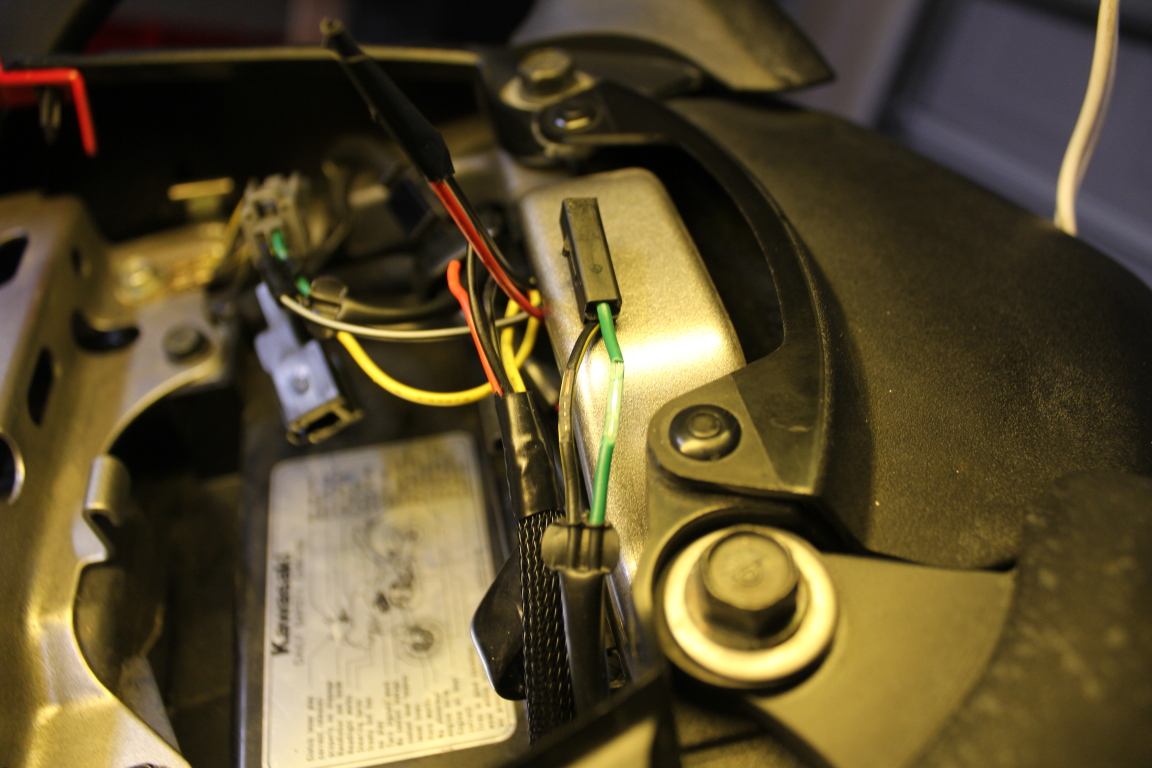
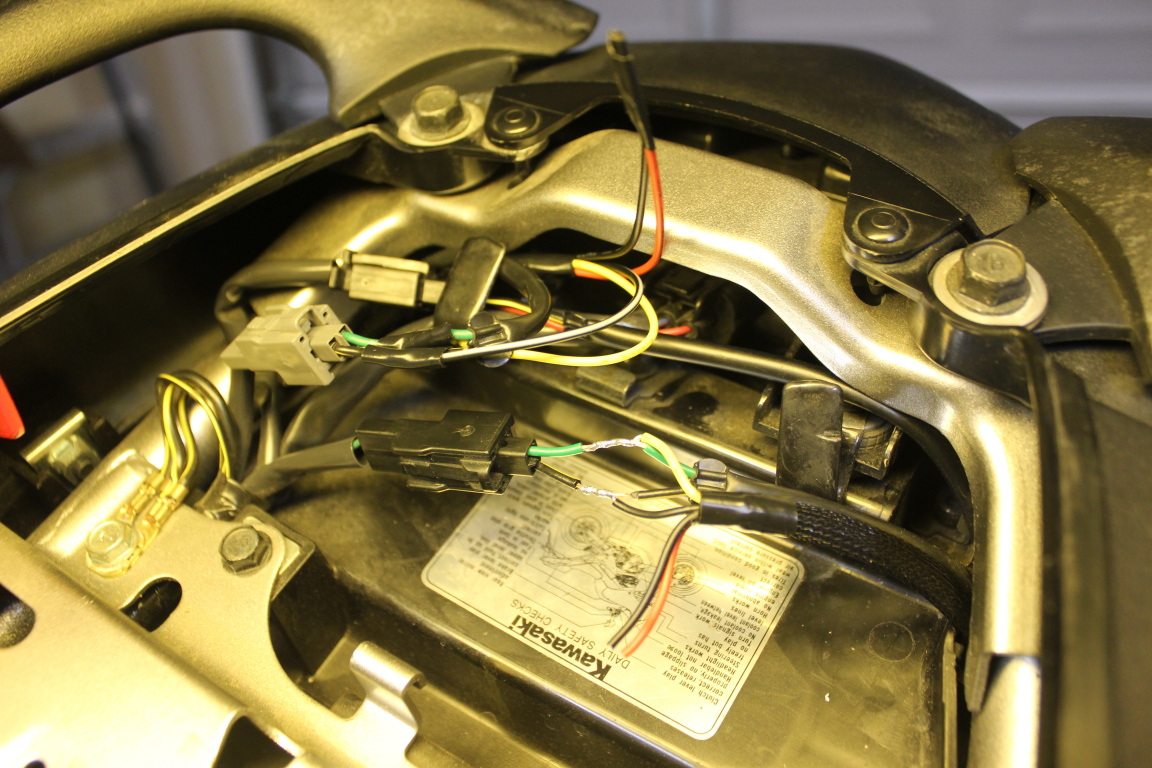
Here you can see the left signal harness under the seat. I decided to tap into
the wires after the harness connection point. I used wire strippers
to score the wire housing and a utility knife to strip it without cutting the wire. You can also see
the new set of wires next to it.
Here you can see the fully stripped wire along with the new wires also stripped.
I twisted the original wire with the new wire and soldered them together.
I plugged the harness back in and wrapped the joints with electrical tape.
Testing the LEDs to make sure they work.
Did the same thing with the brake light. The stock brake light harness has three wires,
red for continuous/running brake lights, blue for brighter lights when braking and black for ground.
My main concern is visibility when braking so I only tapped into the blue.
I cut the new wires a little short so I didn't have enough slack to properly
organize the wires so they look a little messy, but they work
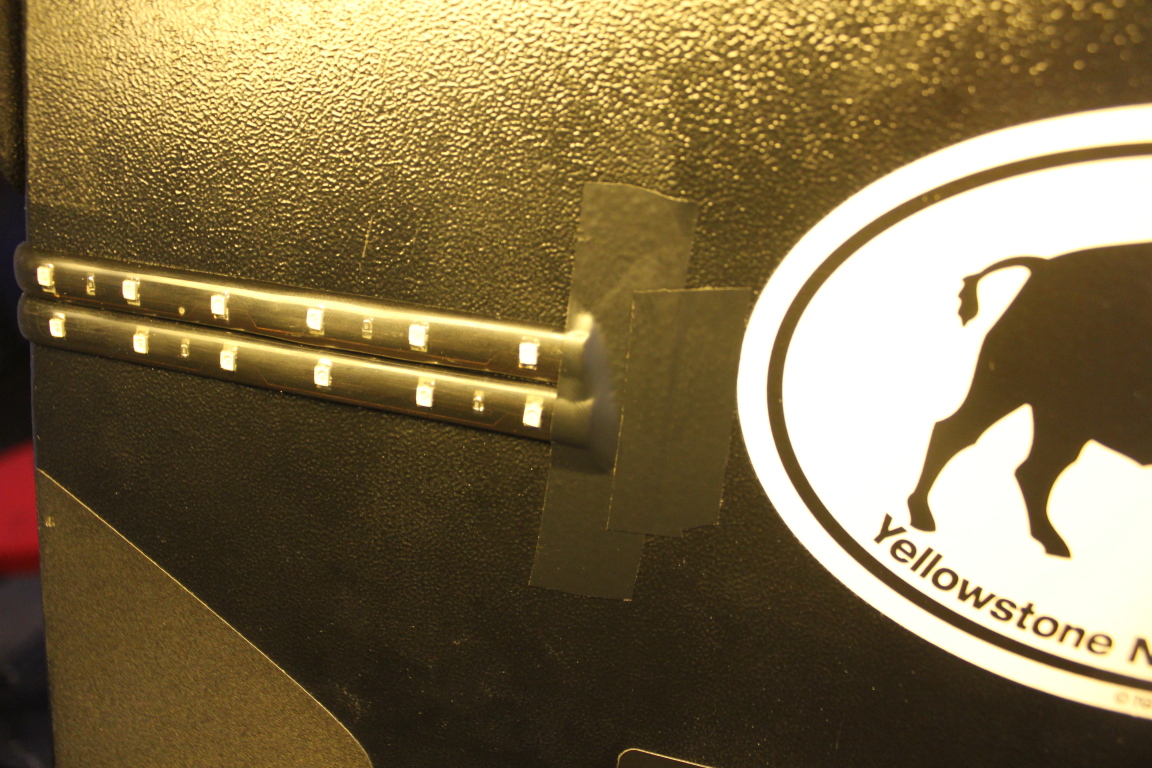
Next I attached the LED strips to the panniers (they came with double sided tape already),
temporarily holding the leading edges with tape.
I shortened/re-soldered the wires, and wrapped them in heat shrink.
Since these are more exposed, I used stronger cable protectors
Again I taped the rear ends. I found that the double sided tape they came with
was not strong enough so eventually I used super glue to attach the ends to the panniers more securely.
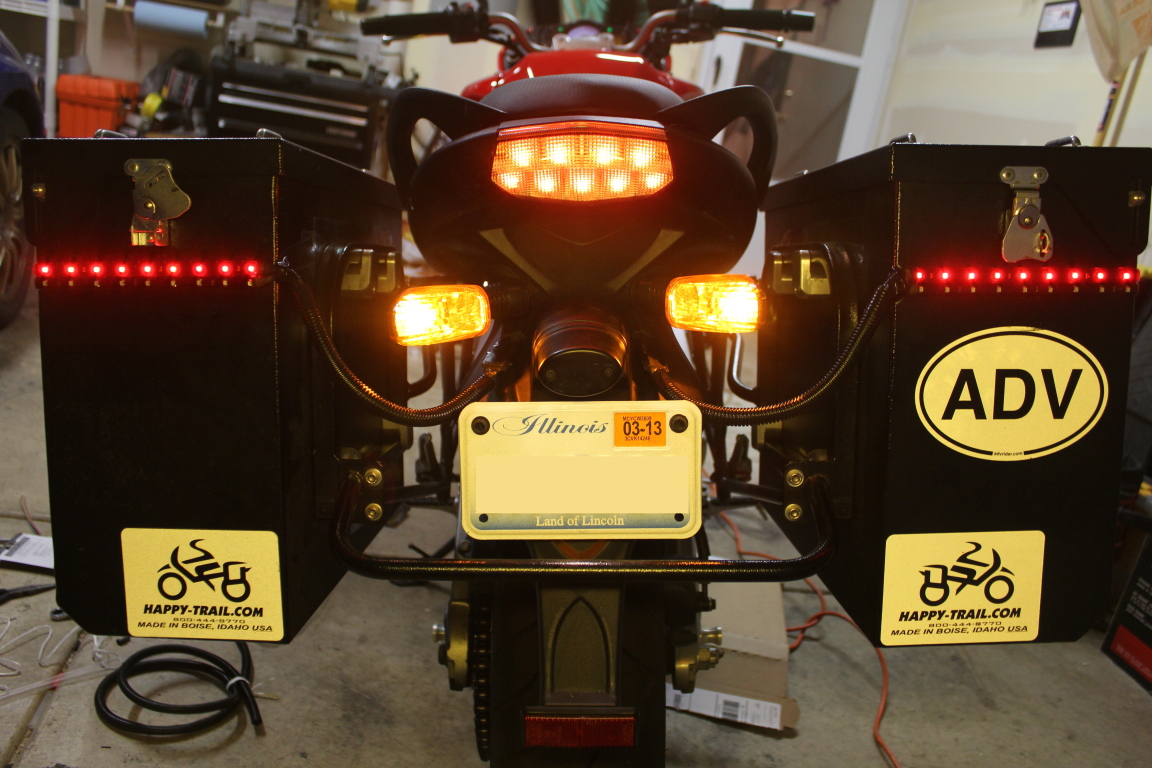
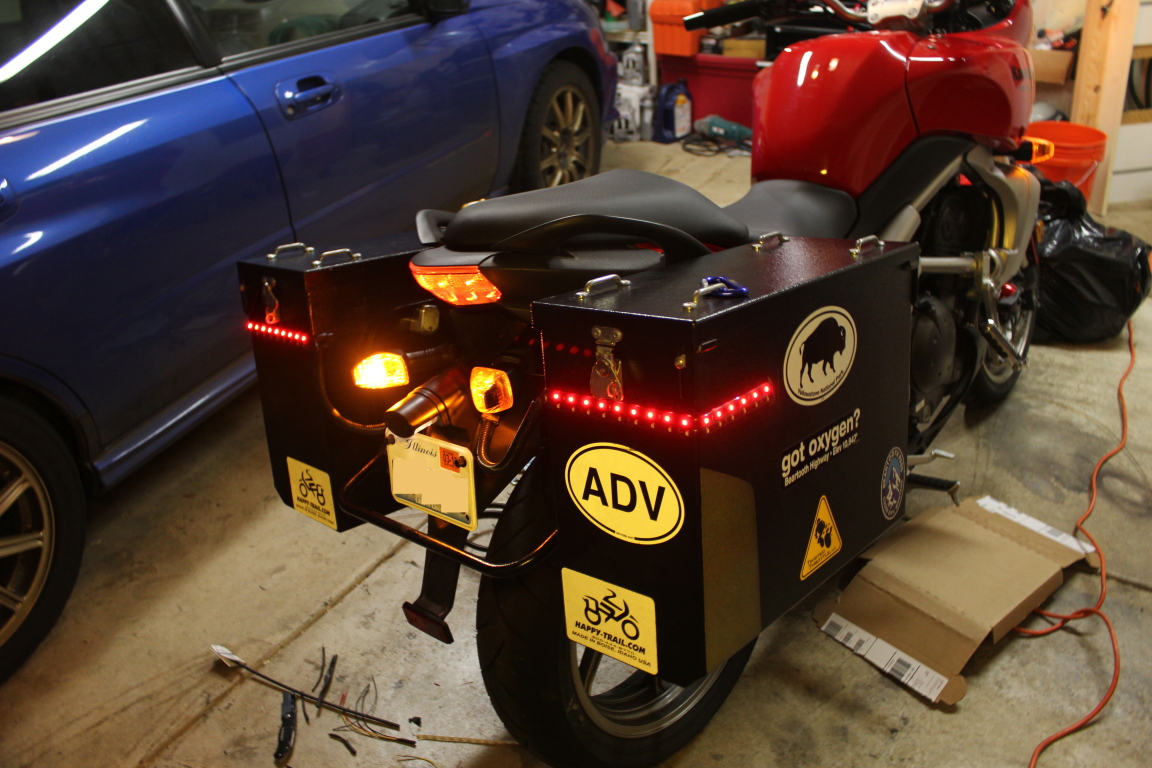
The completed strips.
Testing to make sure they work.
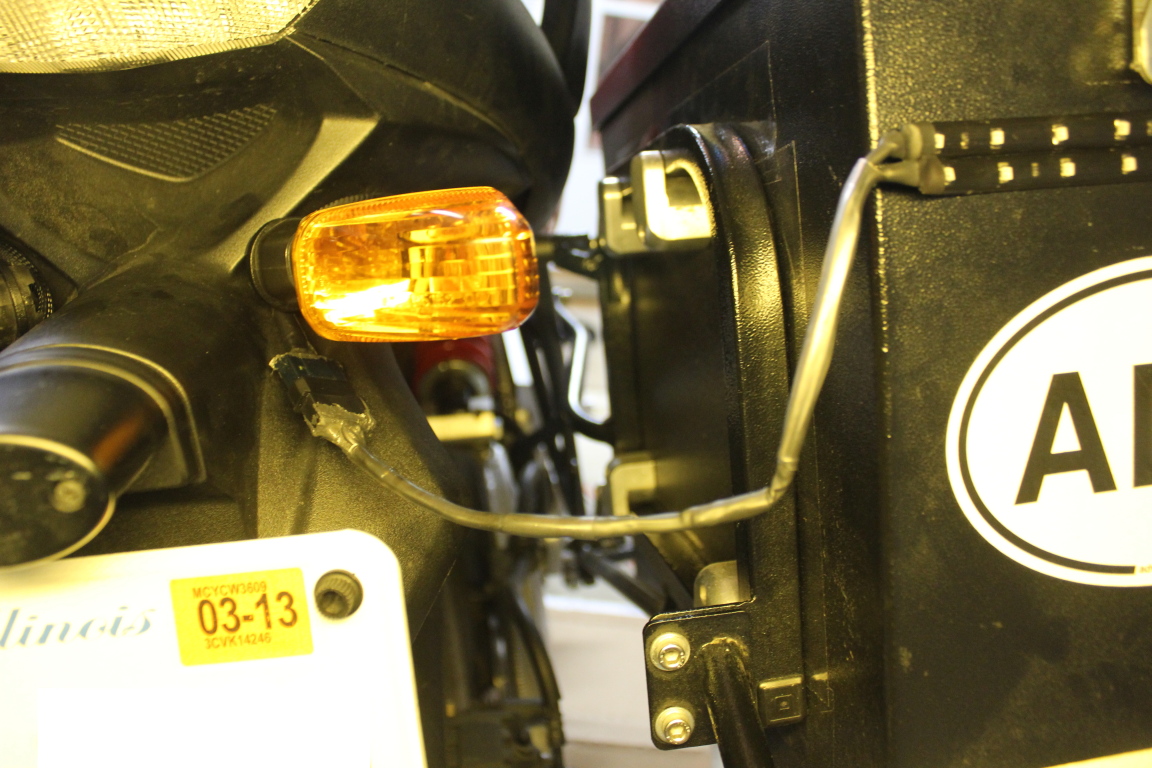
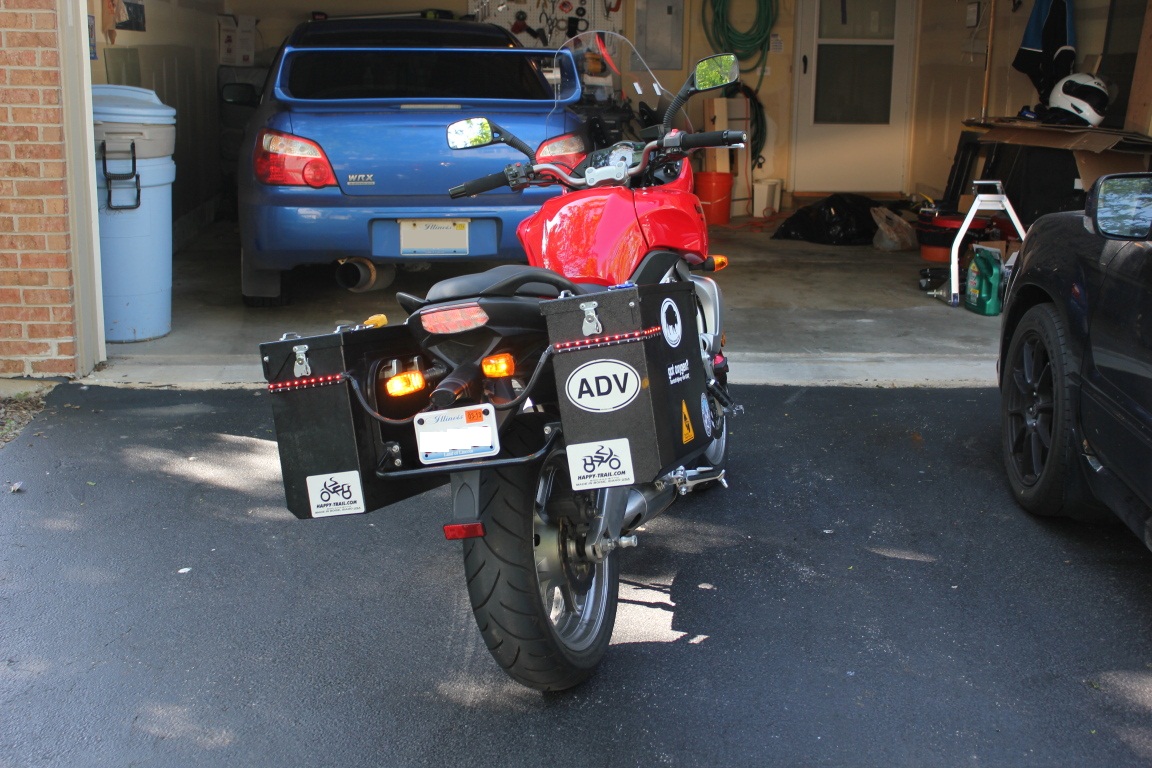
I wrapped the strips around the side so the brake/signal lights would be
seen better by cars next to me.
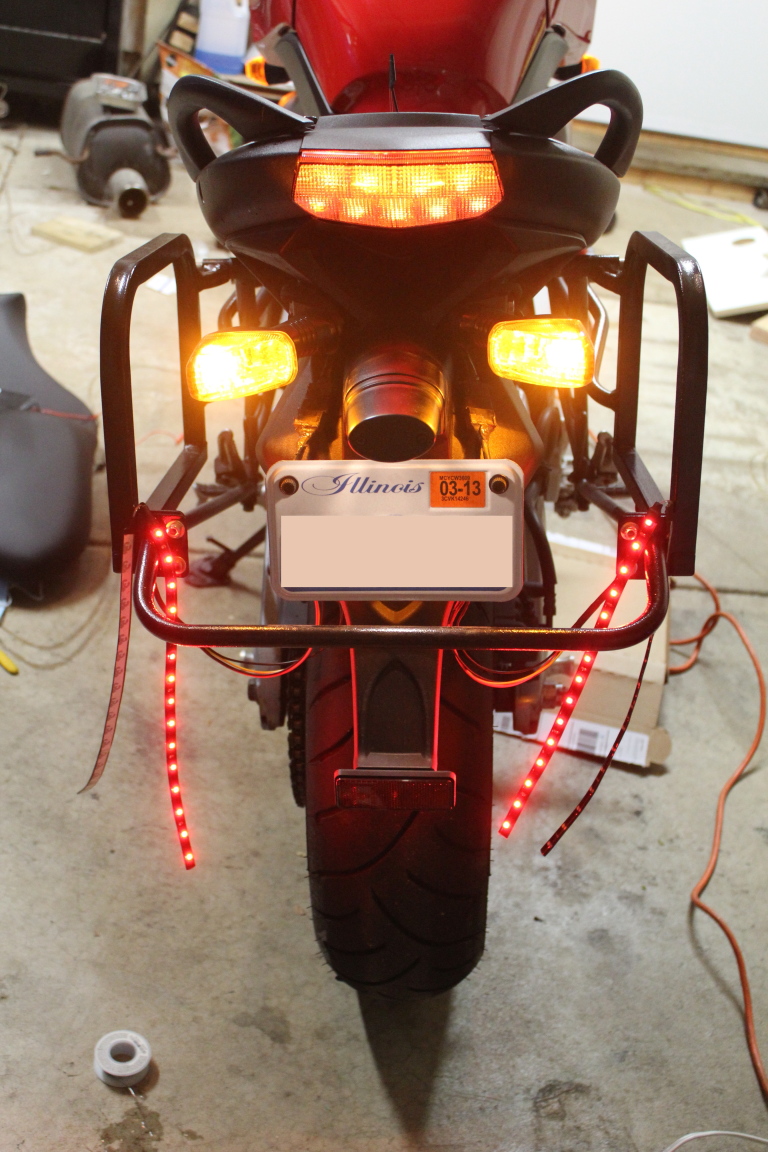
Also tested them in daylight. They don't seem very bright in the picture but
they are pretty visible.
Here is a video of them with the hazard lights on so you can get a better idea of
how they look.