| |
|
click for a larger image |
|
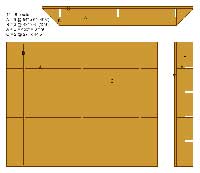
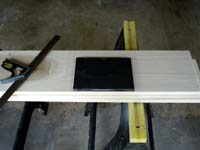
This is a 5 shelf (plus top) DVD rack with angled side pieces to will match the contour of my living room and allow me to place trinkets for display on the ends.
|
|
 |
|
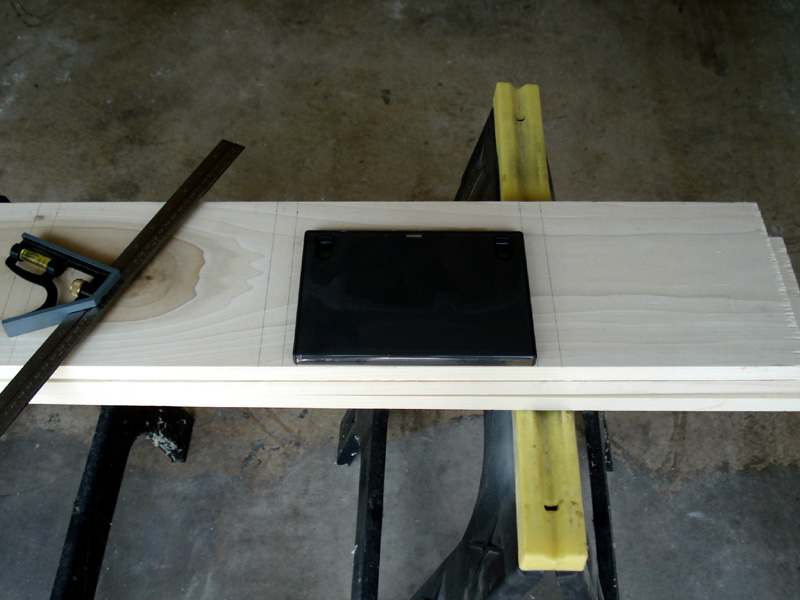
As they say, measure twice, cut once. Or in my case, measure twice, re-measure twice, and then recalculate your measurements and re-measure again. Then cut once.
Some notes on measurement: I had to buy 8" (7-1/4") wood because 6" (5-1/4") wood won't fit a DVD (6"), making the shelves slightly deep. To help address this depth, you could apply a decorative edge to the wood or rip an inch off.
Additionally, the shelves are barely tall enough for a DVD case (7-1/2") so your finger barely fit to take one out. This design has 8" of vertical space but 8-1/2" would have been preferrable.
|
|
 |
|
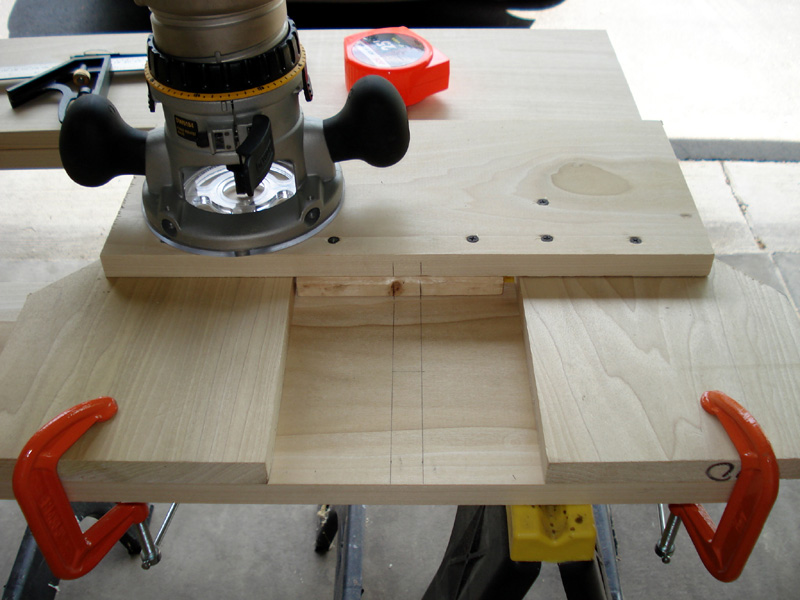
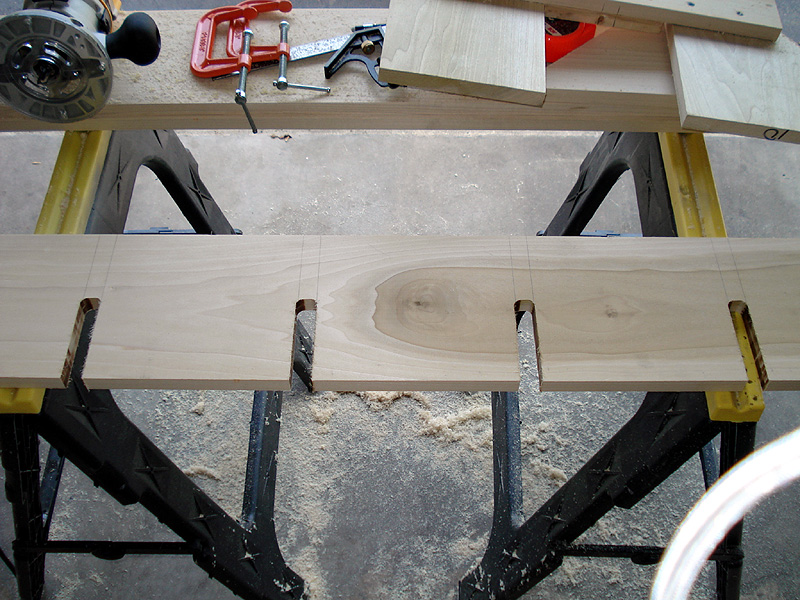
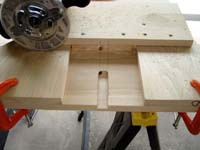
| I built this template to do my slot routing so I could get them just the right width to accomodate another board. |
|
 |
|
| It's easier to do multiple small cuts than one big cut so I routed out only half the board first. |
|
 |
|
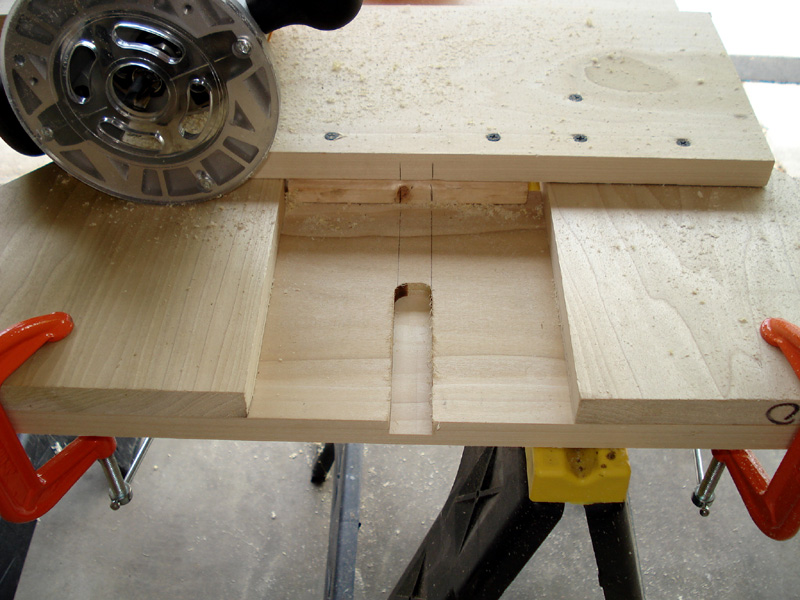
| Then I routed out the rest. |
|
 |
|
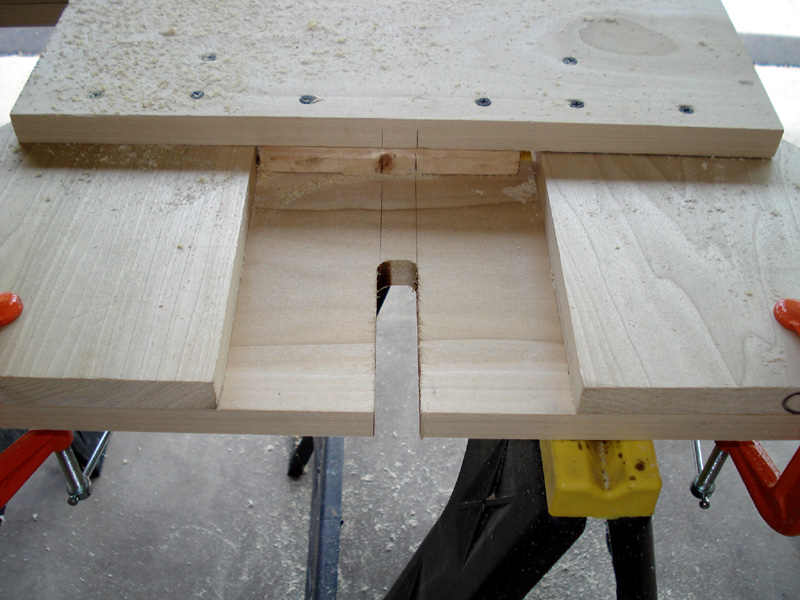
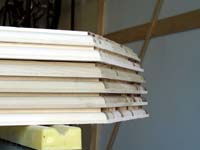
| Here's what the whole piece looked light after the routing. |
|
 |
|
|
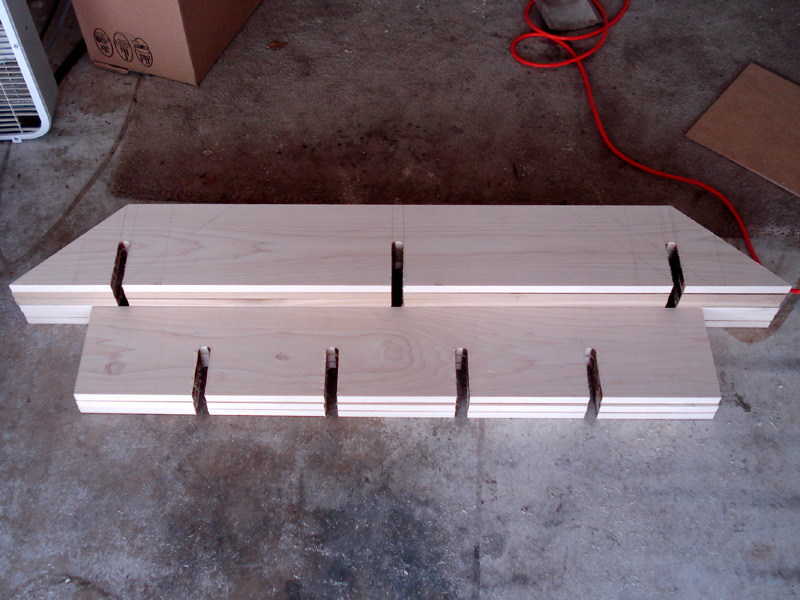
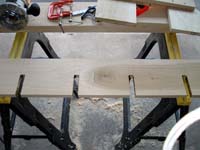
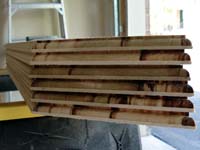
And here are all the routed pieces. |
|
 |
|
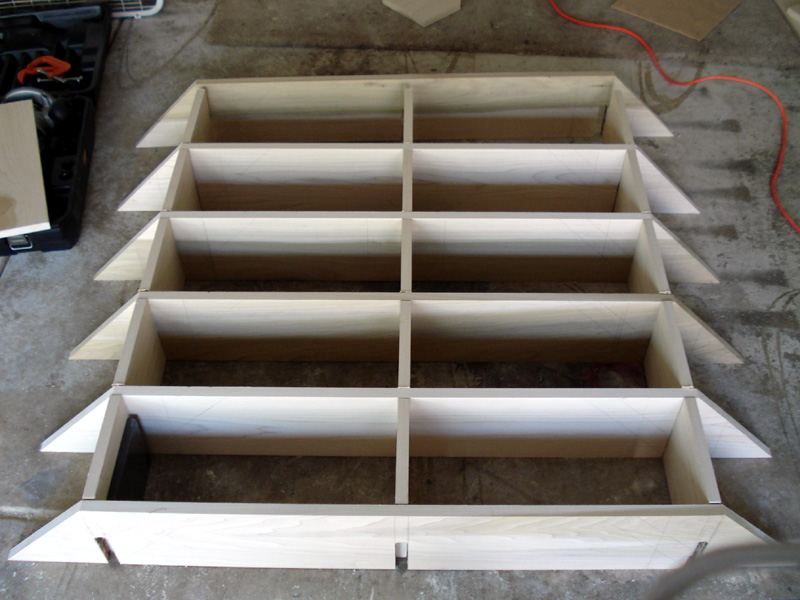
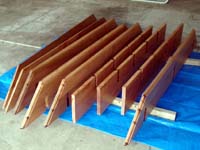
| A test fitment before putting on a decorative edge, sanding and staining. |
|
 |
|
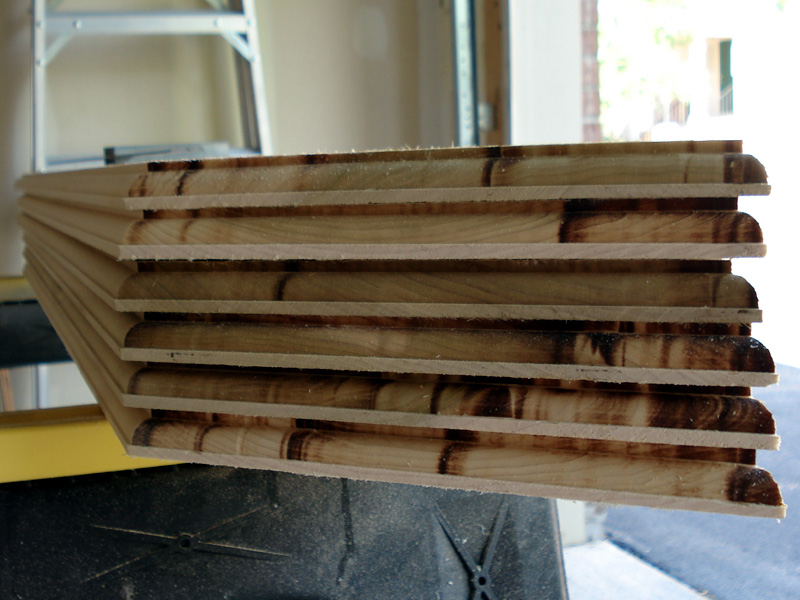
| After putting on a roundover edge. |
|
 |
|
| Roundover edge from another angle. Note all the burn marks from stopping the router. |
|
 |
|
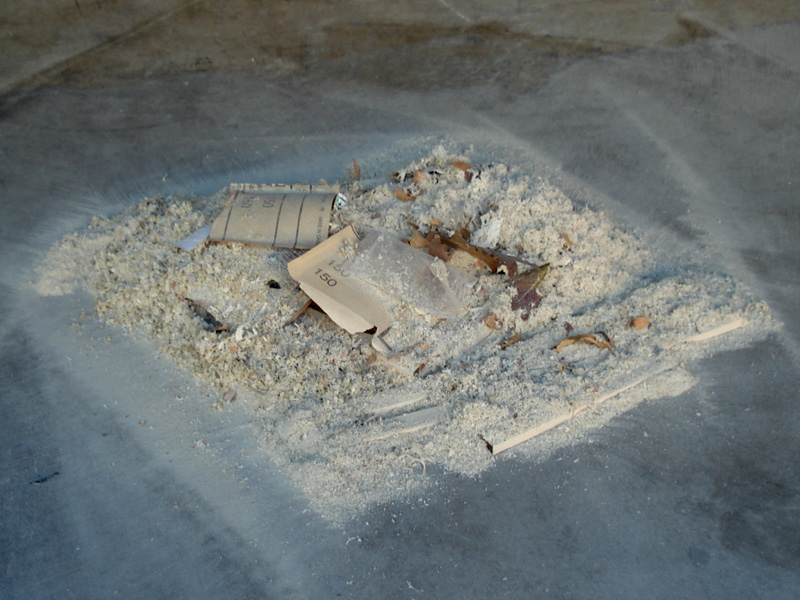
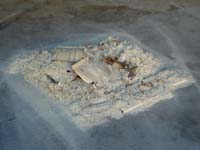
| You can feel like you did a lot when you have a big pile of sawdust. This is only one of two piles I had. |
|
 |
|
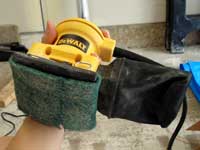
| After sanding, I stained all the pieces Pecan (b/c I like pecans) using MinWax PolyShades (stain and polyurethane in one step). |
|
 |
|
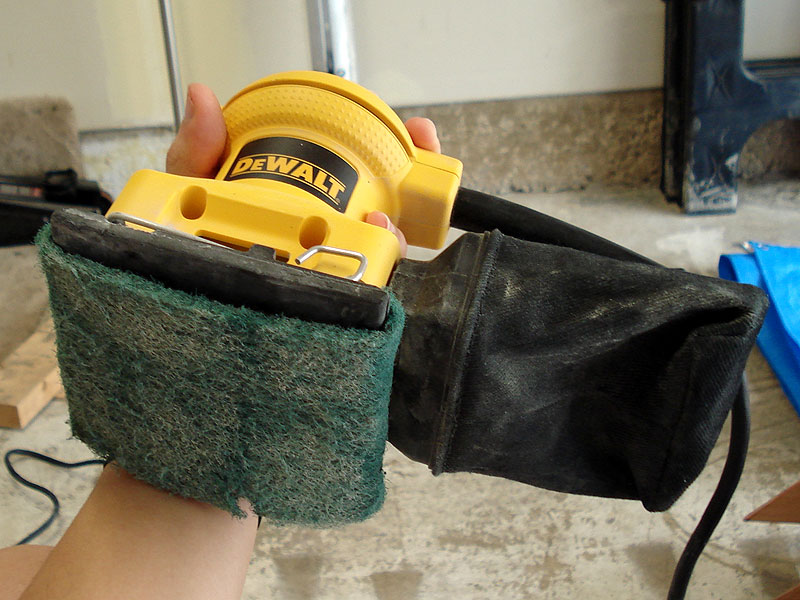
After the first coat of polyurethane stain, rub smooth the stained wood with fine grade 000 steel wool or a green ScotchBrite pad.
ScotchBrite pads are convenient, they'll fit your sander and don't get mangled up as much. |
|
 |
|
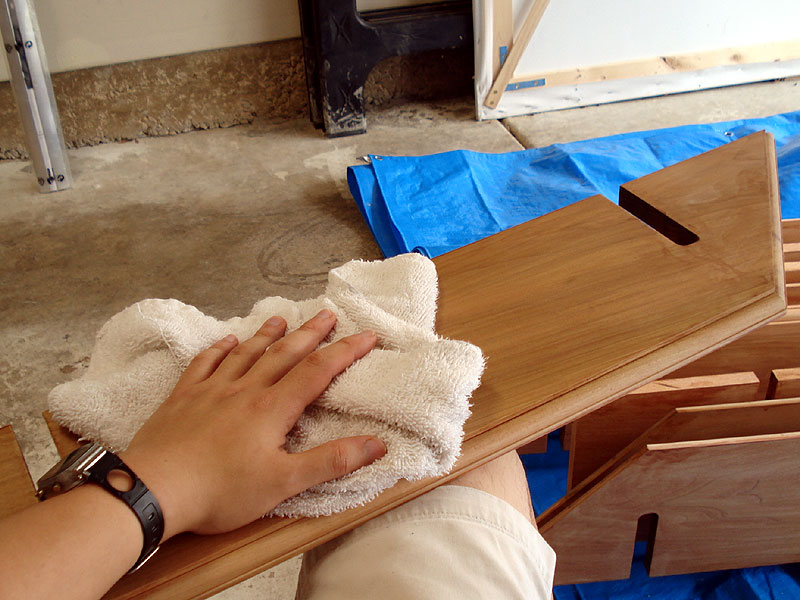
| After any sanding or smoothing, wipe off any dust with a damp (not wet) towel. |
|
 |
|
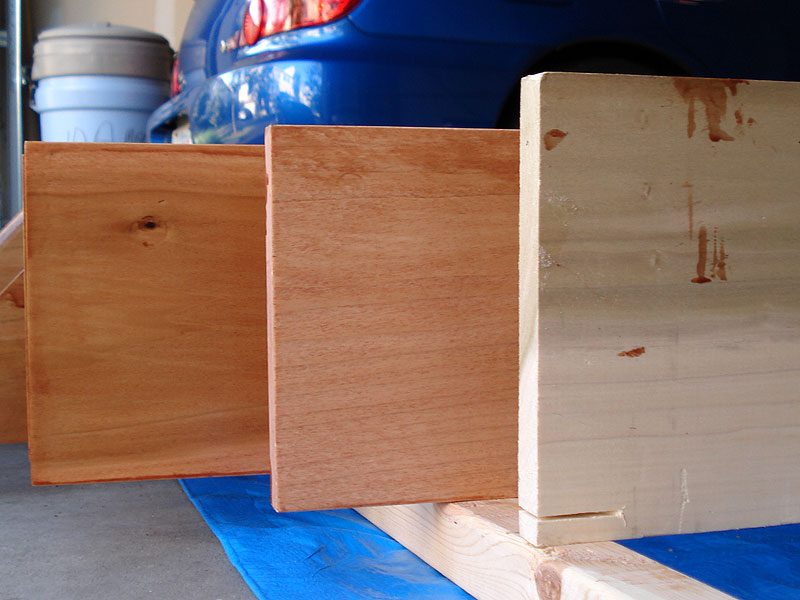
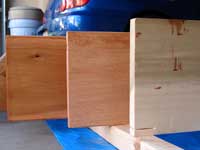
| Here's an example of what the wood looks like after two coats of stain, one coat and bare wood. Note that the two coat stain isn't completely dry and will darken a little more. |
|
 |
|
Once everything was dry, I assembled the shelf, making sure the shelves are square (straight horizontally and vertically), although I will admit that after making sure the shelf was square, I failed to realize that my walls are not...
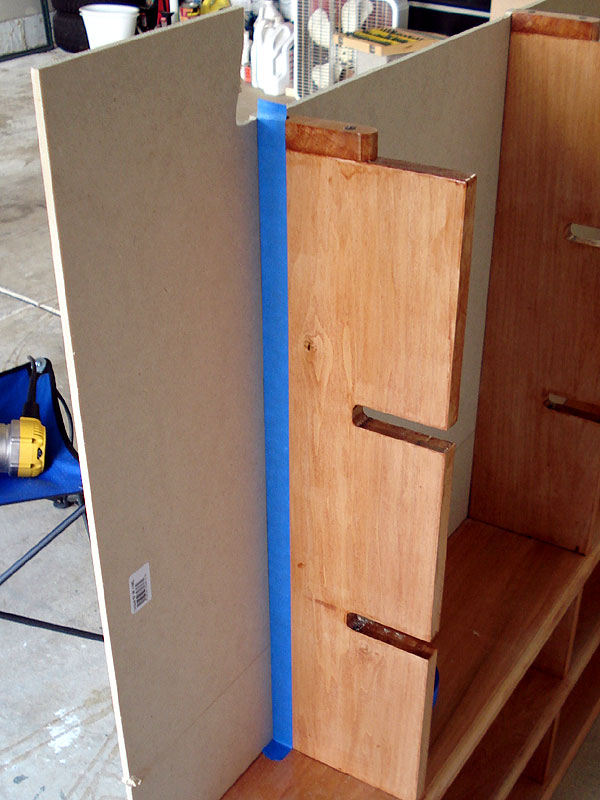
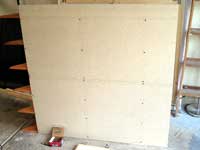
I then screwed on the backing board, countersinking all the holes for a flat finish. The backing board was made of two 2'x4' 1/4" MDF panels. They were not trimmed or cut before attaching, they will be routed flush in the next step. |
|
 |
|
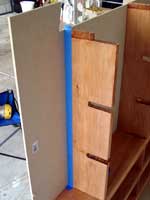
| I used painter's tape to line the edges where the flush trimming will occur. A flush trim bit works by using a bearing that is the same diameter as the cutting edge so you can run it along an outline to trim off excess. Running tape will help protect the finish from any possible scratching or marking from the bearing. |
|
 |
|
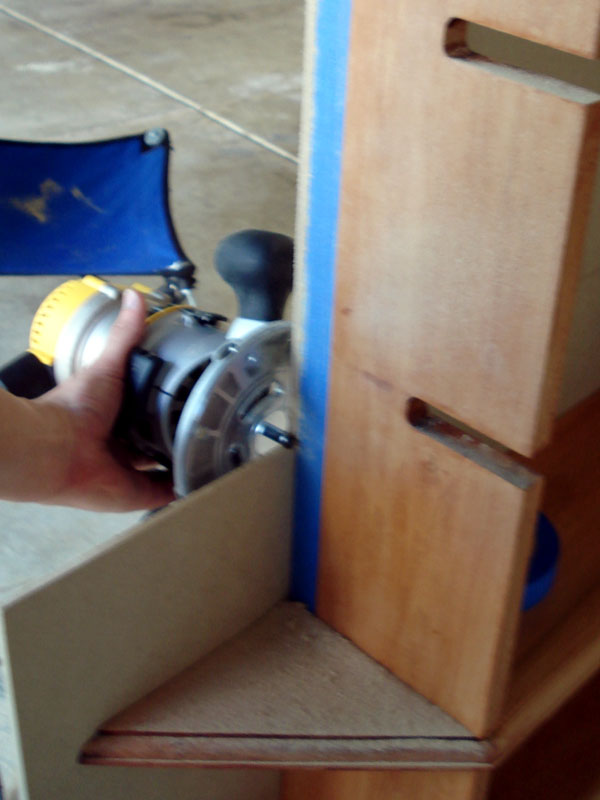
Here's a picture of running the flush trim bit down the back board, following the taped edge.
Note that anytime you cut MDF, you will generate an aweful lot of very fine saw dust. |
|
 |
|
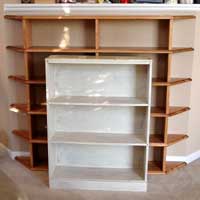
| Here's a comparison of my old book shelf that I was using for DVDs. It was much smaller and only had 3 levels that didn't really fit well. My DVDs were starting to over-flow the shelf's capacity. |
|
 |
|
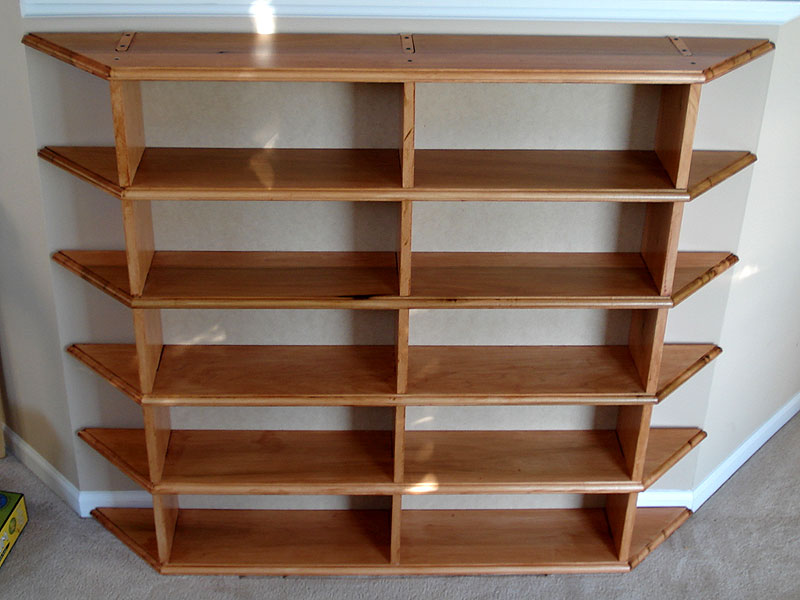
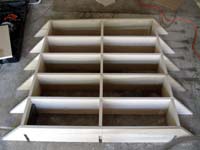
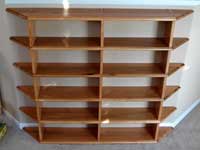
| The new shelf has five levels for DVDs, plus end areas and a top for displaying knick-knacks and other items. Additionally the edges are cut at a 45 degree angle to match the countours of my walls. |
|
 |
|
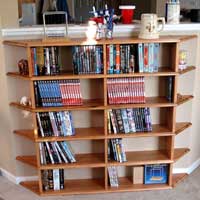
| Here is the shelf in use, complete with DVDs, knick-knacks and miscellaneous items. Looks like I have plenty of expansion room now. |
|
 |
|